IPhone camera is getting better with each new model, so it’s no surprise that many people are preferring it for taking photos. When it comes to taking backup of your precious iPhone photo collection, then the best option is to transfer photos to your computer. Therefore, in this guide, we will explain how to transfer photos from iPhone to computer.
How to Transfer Photos from IPhone to Computer
For transferring photos from your iPhone to computer you will require one USB cable. The method we are sharing is for Windows 10 computer, but the same process can be followed for any Windows OS.
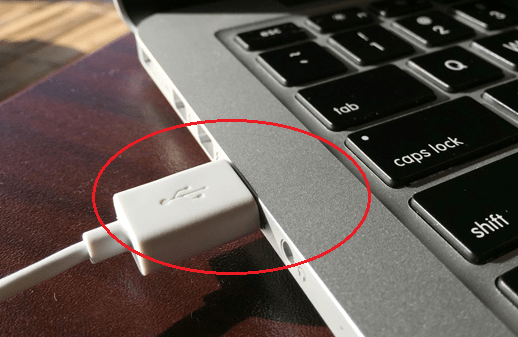
1. Connect the USB cable of your iPhone to your computer USB port.
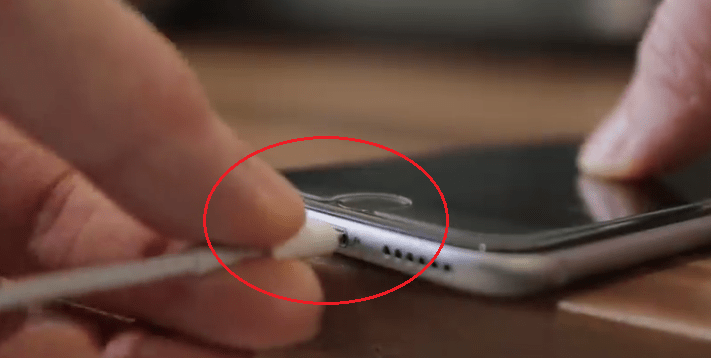
2. Connect other end of that cable to your iPhone.
3. Your iPhone and your computer might ask you whether you ‘Trust’ the other device or not. Select ‘Trust’.

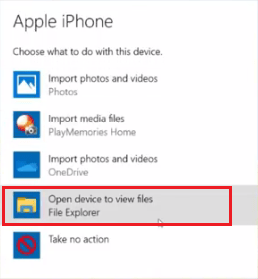
4. Windows will show a pop-up screen with multiple options. Choose ‘Open device to view files’ option. Choosing this option will open the Windows Explorer.
5. If your computer doesn’t show the above mentioned options, then click on Windows Explorer icon on your taskbar.

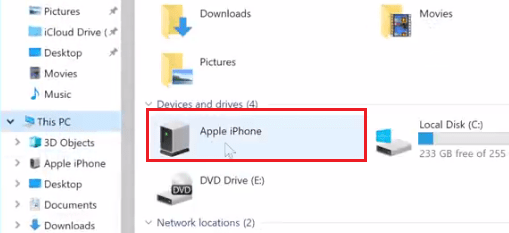
6. In the Windows Explorer window, double click on ‘Apple iPhone’ option.
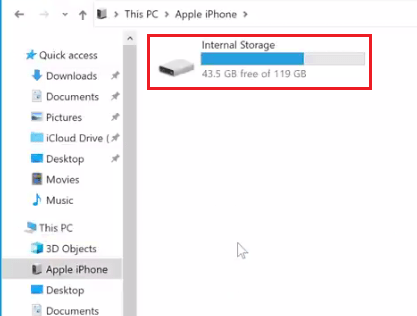
7. Double click ‘Internal Storage’.
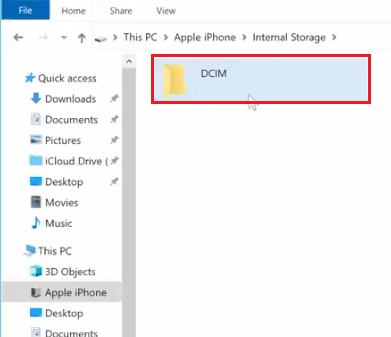
8. Double click to open ‘DCIM’ folder.
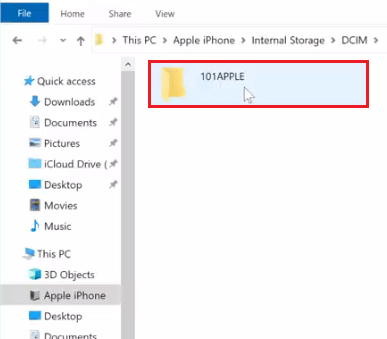
9. Double click to open ‘101APPLE’ folder.
10. Now you will be able to see all the videos and photos which are in your iPhone.
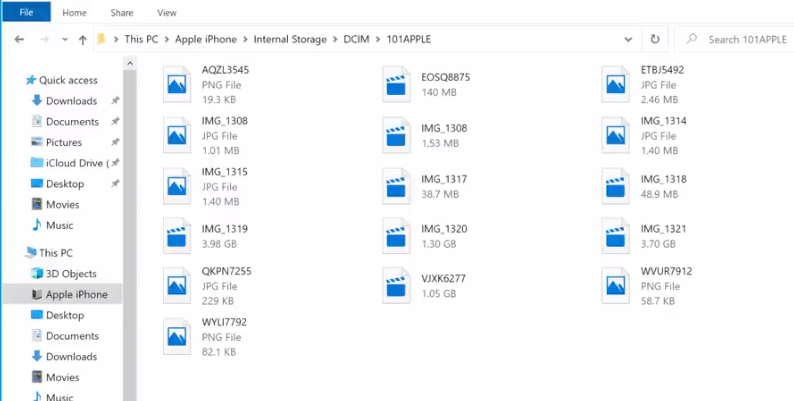
11. You can individually select files, then copy them and paste them on the preferred folder of your computer. You can also drag and drop files to transfer them into your computer.
There are many ways of transferring photos from iPhone to a Windows computer, but the method we have explained above is the easiest and the least time consuming of them all. All you need is a USB cable and the whole process will take only a few minutes to complete.