Skype for Business is an application which is especially useful for corporate employees, but Microsoft has bundled this application with its Microsoft Office Professional program. Due to this many users of MS Office end-up having Skype for Business on their computer, which they have no use of and find really annoying. Also, sometimes users install Skype for Business deliberately, but don’t know how to remove it from their computer. In this tutorial, you will learn how to uninstall Skype for Business from your Windows 10 computer.

Option 1: Disabling “Skype for Business” from its settings
If you require Skype for some reason, but you are annoyed by its constant interruptions, then this solution is for you. You can use Skype settings to disable its automatic startup.
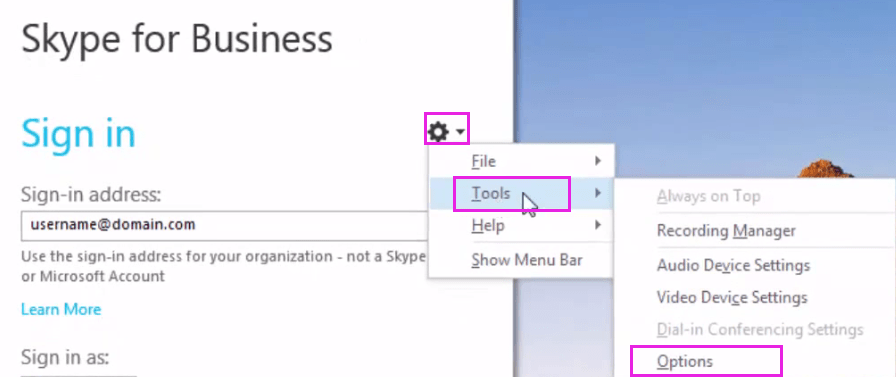
Step 1: Click gear icon on Skype for Business, select ‘Tools’ and choose ‘Options’.
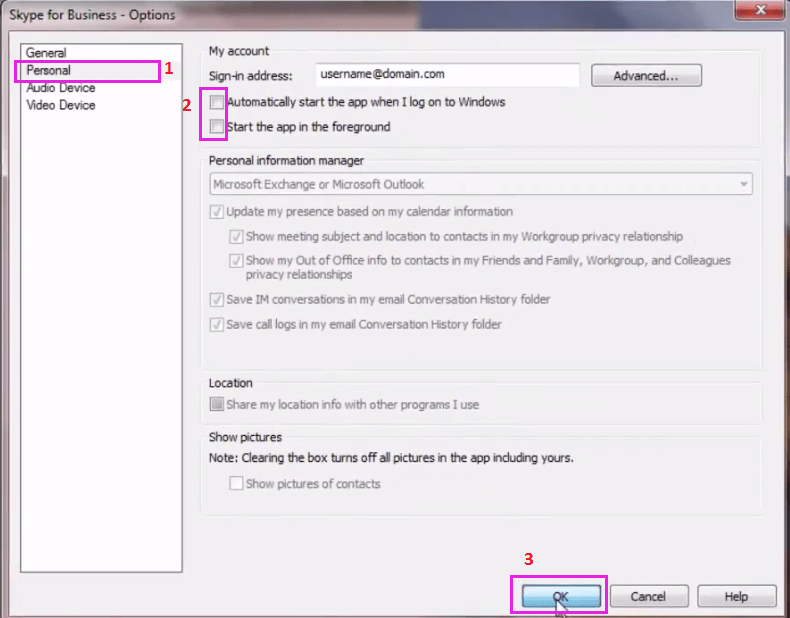
Step 2: In the Options window, select ‘Personal’ option. Uncheck boxes in front of ‘Automatically start the app when I log on to Windows’ and ‘Start the app in the foreground’. Finally, click on ‘OK’ button.
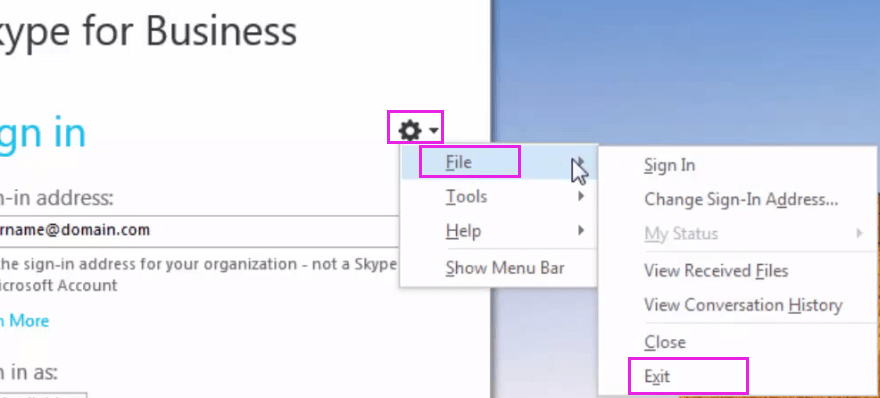
Step 3: Click on the gear icon, choose ‘File’ and select ‘Exit’ to close Skype for Business.
That’s it, now Skype for Business will not start automatically every time you start your computer.
Option 2: Uninstall Skype for Business in Windows 10 through Control Panel
If Skype for Business is installed on your computer as a standalone program, then you will have to uninstall it via the control panel. Follow the steps given below to do this.
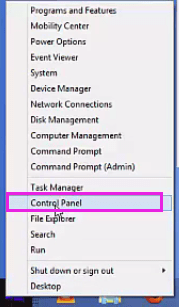
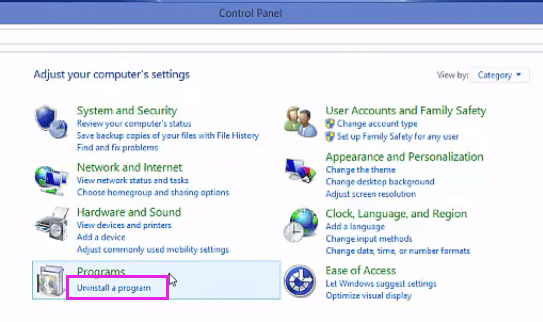
Step 1: Right-click the ‘Start’ button and choose ‘Control Panel’.
Step 2: In Control Panel, choose ‘Uninstall a program’.
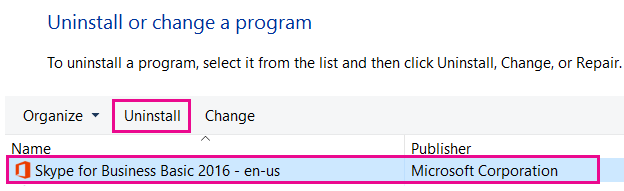
Step 3: In the list of programs, find and select ‘Skype for Business’ and click ‘Uninstall’. Follow the prompts to complete the uninstall process.
That’s it.
Option 3: Uninstall ‘Skype for Business’ on Windows 10 Using MS Office
MS Office Professional installs Skype for Business on your computer without you knowing about it along with MS office installation. Therefore, if you are suddenly seeing Skype for Business on your computer without you installing it, then you will have to uninstall this program by using MS Office Professional.
Step 1: Right-click the ‘Start’ button and choose ‘Control Panel’.
Step 2: In Control Panel, choose ‘Uninstall a program’.
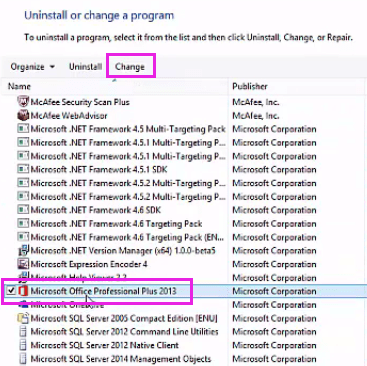
Step 3: In the list of programs, locate and choose ‘Microsoft Office Professional’ and click ‘Change’.
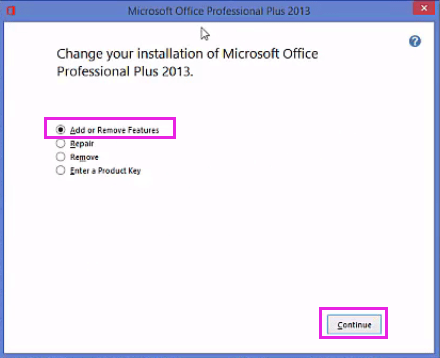
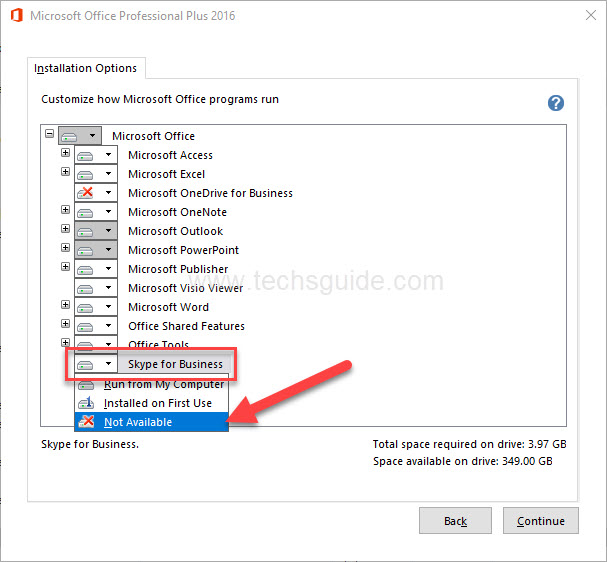
Step 4: Now, choose ‘Add or Remove Features’ and click ‘Continue’.
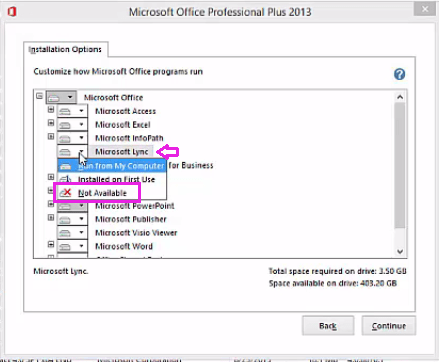
Step 5: For some reason, MS Office registers ‘Skype’ as ‘Lync’. Therefore, in the list of Installation Options, locate Microsoft Lync and click the down arrow to access the options. From the options, choose ‘Not Available’.
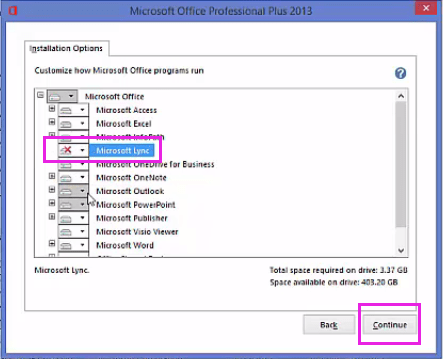
Step 6: Once you see the ‘red cross’ in front of ‘Microsoft Lync’, click on ‘Continue’.
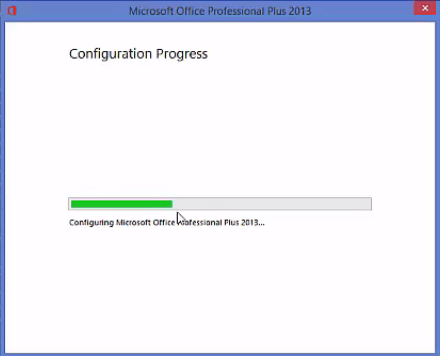
Step 7: Wait for the configuration process to complete, then restart your computer.
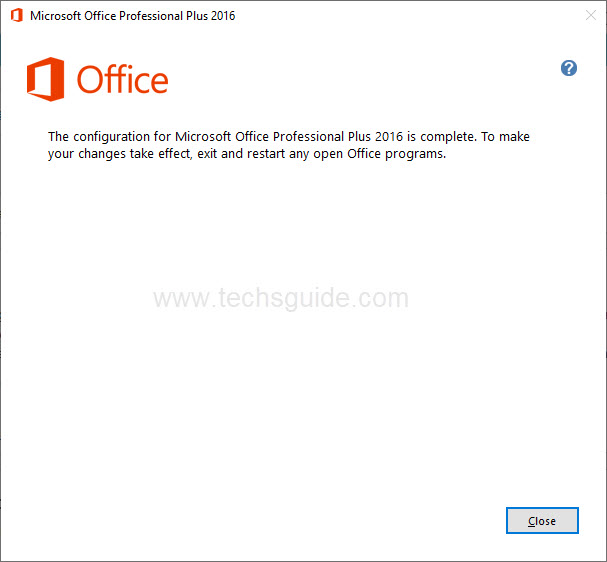
After your computer has restarted you will find that ‘Skype for Business’ has been removed from your computer.
That’s it, you have successfully un-installed Skype from your computer.
Skype for Business is a legitimate application which many users require for their professional work. However, since most users don’t know how to uninstall Skype for Business in Windows 10 they think this program has intruded into their computer. Now you know how to disable and uninstall Skype for Business from your Windows 10 computer if this application is troubling you.