There are many users who are searching for the right method of installing Chrome browser via the command line in Windows. Since, nowadays we are so habitual of using Windows GUI interface that using command line interface is almost forgotten.
However, there are certain salient benefits of using the command line interface. For instance, installing programs via command line can speed-up the installation process as it excludes most dialog boxes which might appear during a GUI installation. Therefore, in this tutorial, we will explain in simple steps the proper way of installing Chrome browser via command line in Windows.
How to Install Chrome Browser Properly Via Command Line.
Your computer should have access to an uninterrupted internet connection before you start the Chrome installation process. Follow the below mentioned steps in the exact order to install the Google Chrome browser in Windows 10 via the command line:
1. Right-click the Windows Start button and select ‘Command Prompt (Admin)’.

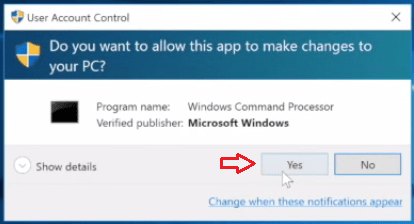
2. You will be prompted for permission to open the Windows Command Processor, click ‘Yes’.
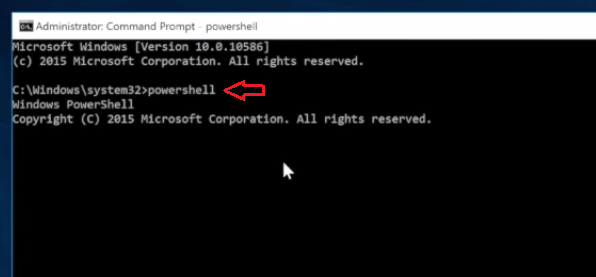
3. Make sure you are at ‘C:\Windows\system32’ folder, then type ‘powershell’ and press ‘Enter’.
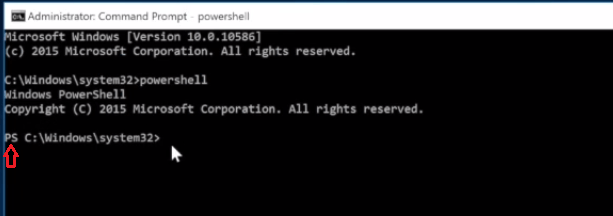
4. You should see ‘PS’ written in the command line. This means you have entered the PowerShell of Windows.
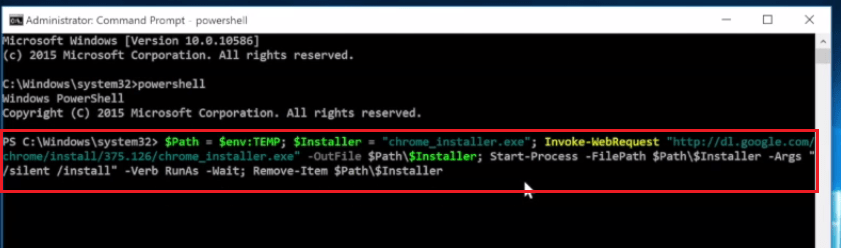
5. Copy the command text given below and paste it in the command prompt, or else, you can type the complete command text as it’s written below.
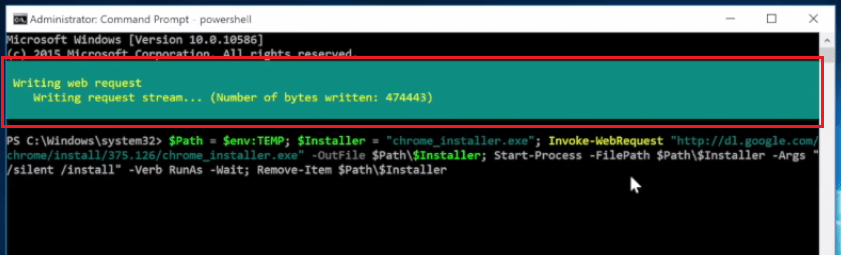
$Path = $env:TEMP; $Installer = "chrome_installer.exe"; Invoke-WebRequest "http://dl.google.com/chrome/install/375.126/chrome_installer.exe" -OutFile $Path\$Installer; Start-Process -FilePath $Path\$Installer -Args "/silent /install" -Verb RunAs -Wait; Remove-Item $Path\$Installer
6. Press ‘Enter’. The process of downloading and installing Chrome on your computer will start. Don’t do anything, just wait for its completion.
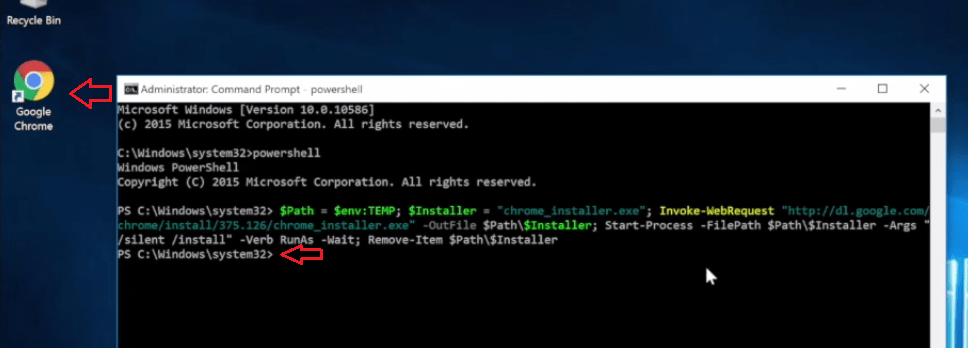
7. Once the process is completed, you will see ‘Google Chrome’ icon on your Desktop.
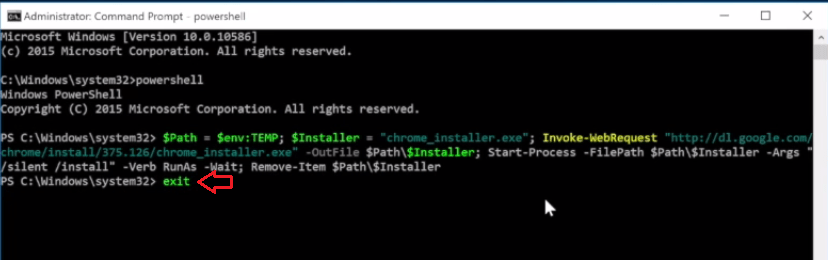
8. Type ‘exit’ and press ‘Enter’. This will take you out of Windows PowerShell.
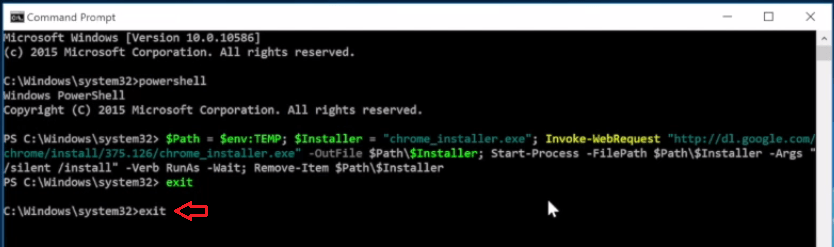
9. To exit Command Prompt, again type ‘exit’ and press ‘Enter’.
That’s it you have successfully installed Google Chrome browser through command line.
Now you know how to install Chrome browser properly via command line in Windows. Keep in mind that while following this installation process you will not be able to choose custom settings and Chrome will be installed with default settings.
i need a command script prompt? ( to install google 32 bit 49) on my xp from administrative command prompt on windows 10 any help please email me.
Do you want to install Google Chrome on Windows XP or Windows 10?
Thanks. Nice to have a script to install it from command line.
I created a powershell script file (.ps1) with this command and that way I can run that script and no need to use the command prompt 🙂