Both Windows XP and Vista are pretty old operating systems. Therefore, Microsoft doesn’t offer for them any direct upgrade method to Windows 10, as it’s available for Windows 7 and 8. However, this doesn’t mean you can’t upgrade your Windows XP or Vista to Windows 10. Although the upgrade process is not as simple as it is for Windows 7 or 8, but with a few extra steps you can finish this task, quickly and easily. In this step by step guide, you will learn how to upgrade to Windows 10 from Windows XP, Vista.
Things to do Before Starting Upgrade of Windows 10
Before you start the Windows 10 upgrade procedure you must take care of a few things. If you ignore the things mentioned below, then you may encounter multiple issues during and after the Windows 10 upgrade process.
- Take backup of the necessary data on your Windows XP/Vista computer. Doing this is extremely important as you will lose all your data during the upgrade process.
- Before starting the installation process unplug all the peripheral devices, like scanner, webcam, printer etc. from your computer. This is necessary because such devices can interfere with the installation process.
- Arrange a USB pen drive with 8 GB or more capacity. This drive will be needed for creating the Windows 10 boot device.
- Make sure that you have access to uninterrupted internet connection. You will have to connect to internet multiple times.
Steps to Upgrade to Windows 10 from Windows XP, Vista
We will follow a three step Windows 10 upgrade process. Although we will be sharing the step by step upgrade procedure for Windows XP, but you can follow the same steps for Windows Vista as well.
Step 1 – Download Windows 10 ISO file from the Microsoft website.
Step 2 – Make a bootable flash drive of Windows 10.
Step 3 – Upgrade Windows XP/Vista to Windows 10.
If you already have a bootable USB drive of Windows 10, then you can skip the first two steps and directly jump to step 3.
Step 1 – Download Windows 10 ISO
Follow the steps given below to download the Windows 10 ISO directly from the Microsoft official website.
- Visit Windows 10 download page.
- Click the ‘Down’ arrow beneath the Select edition field and choose the latest Windows 10 version available. We have chosen ‘Windows 10 October 2020 Update’.
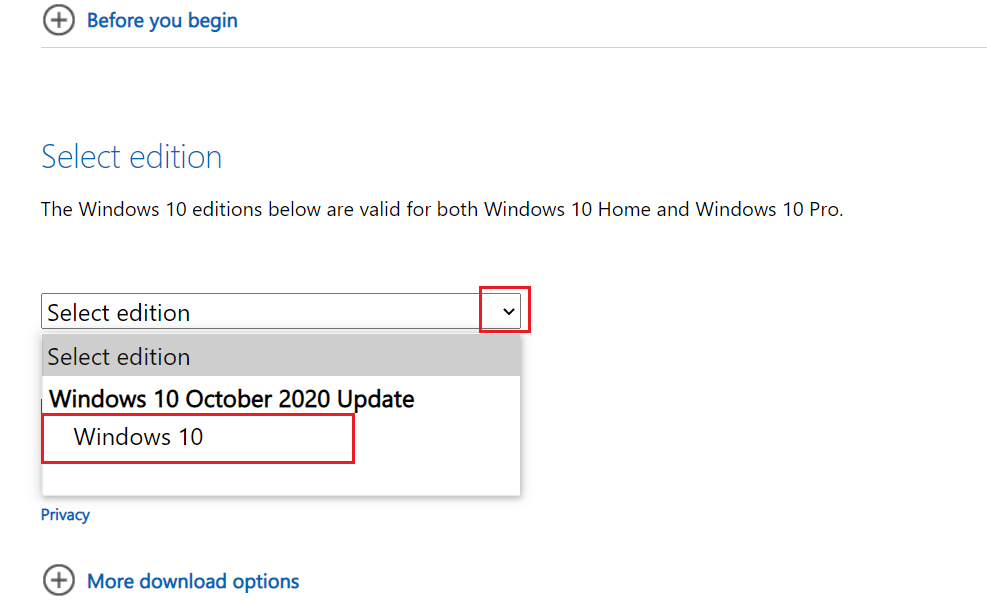
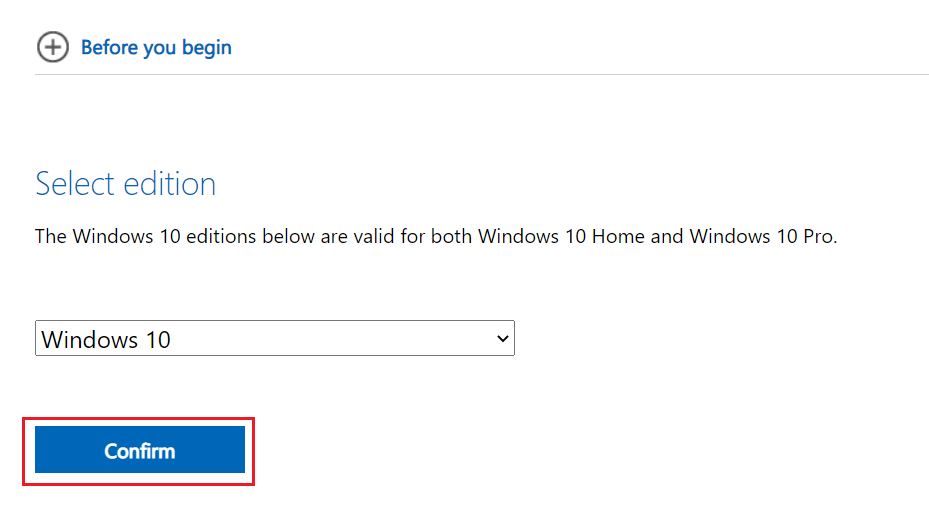
- Click ‘Confirm’ to proceed.
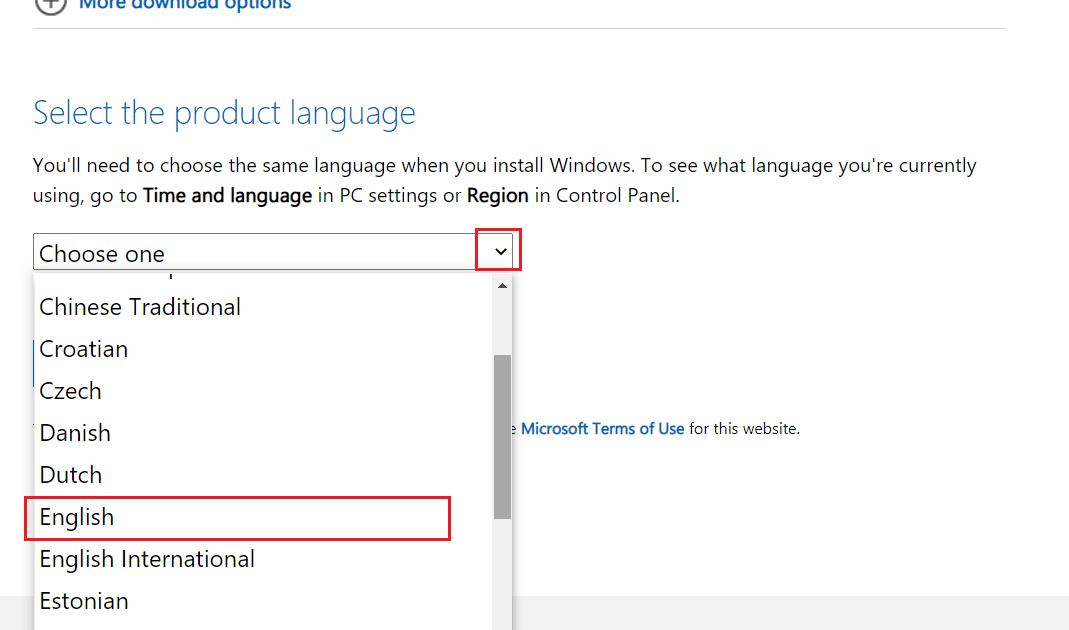
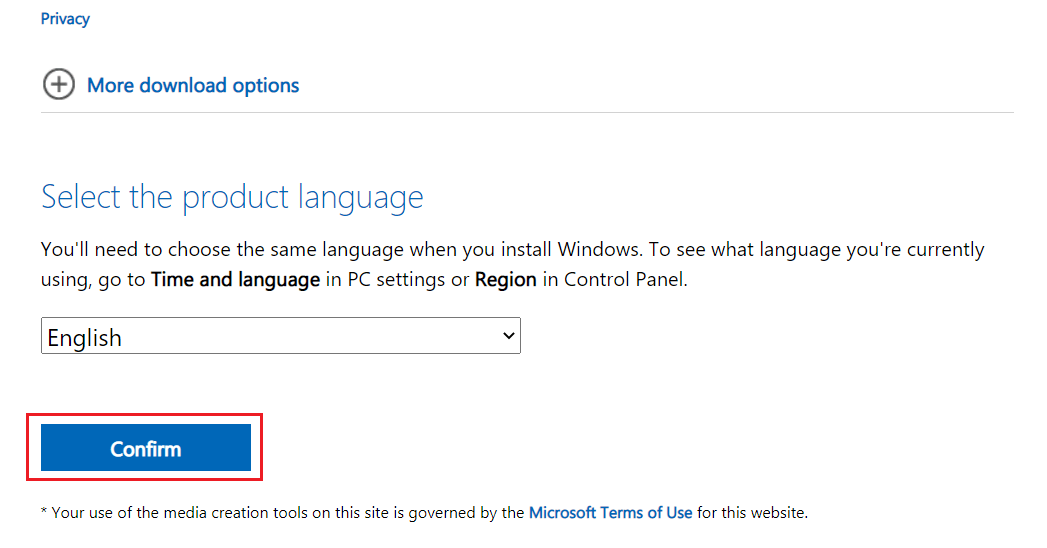
- Click the ‘Down’ arrow beneath the Select the product language field and choose your preferred language. We chose ‘English’.

- Click ‘Confirm’ to proceed.

- Choose the bit version you want to install. We have chosen ’64-bit Download’.
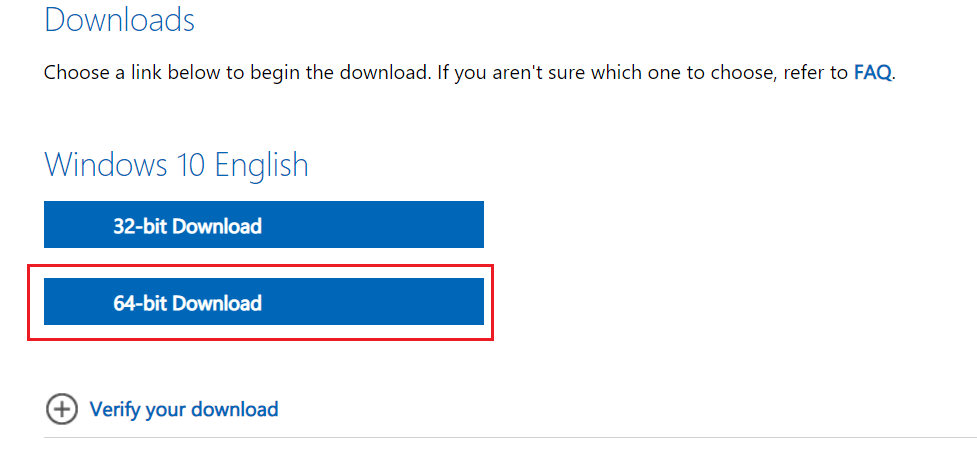
- Now the download of Windows 10 ISO file will start. Remember the download location as you will need it afterwards. Let’s move to the step 2 for creating the USB boot drive.
Step 2 – Create Windows 10 USB Boot Flash Drive
To create a bootable USB drive with your Windows 10 ISO you will require a free software named ‘Rufus’. This is a reliable and safe software which doesn’t require any installation. Follow the steps given below to create Windows 10 bootable flash drive by using Rufus.
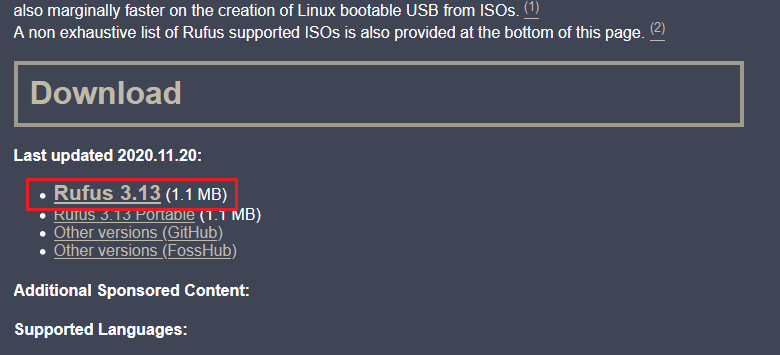
- Visit Rufus website.
- Go to the ‘Download’ section and click the Rufus download link to start the download. We clicked ‘Rufus 3.13’ link.
- Connect the USB drive to your computer.
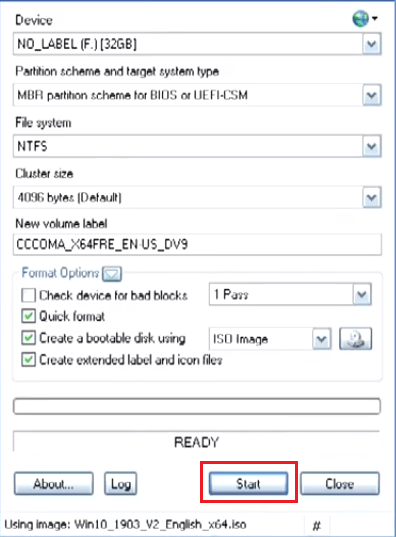
- Once this application is downloaded. Run the downloaded Rufus executable file and choose the same settings as shown below. Then, click the ‘Browse‘ icon.
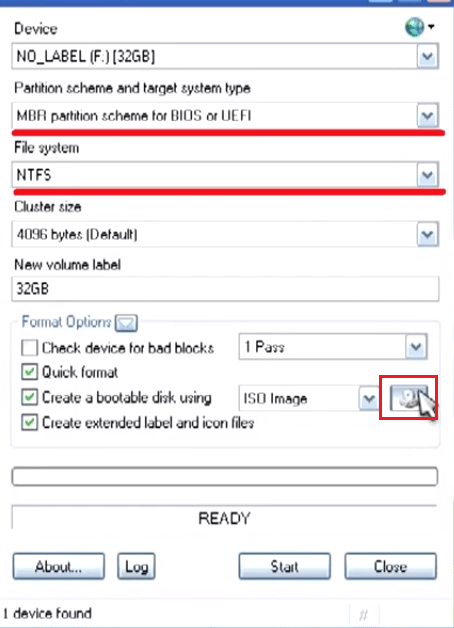
- In the Browse window, go to the Windows 10 ISO file you downloaded in Step 1. Choose that file and click ‘Open’.

- Click ‘Start’ to begin the process of creating a bootable device.
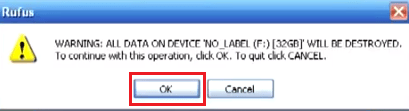
- You will see a warning that all the files on USB driver will be deleted. Click ‘OK’ to proceed.
- Wait until the process gets completed. Then, you will see ‘READY’ it means the bootable drive is ready for use. Click ‘Close’ to continue.
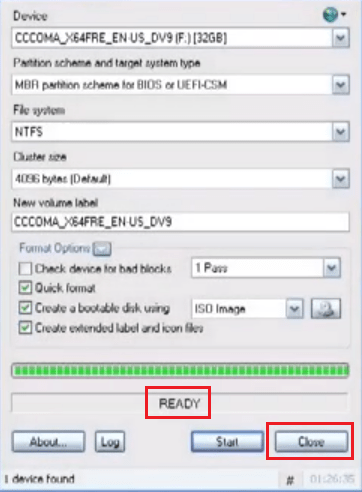
- You have successfully created a Windows 10 USB boot drive. Let’s use this drive to upgrade Windows XP, Vista to Windows 10.
Step 3 – How to Upgrade to Windows 10 from Windows XP, Vista
We hope you would have taken backup of your necessary data, disconnected all the peripheral devices from your computer and must be having Windows 10 bootable USB drive with you right now. Let’s proceed to upgrade Windows XP to Windows 10. Follow the same process for Windows Vista.
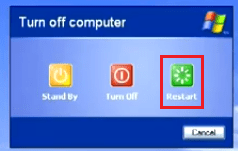
- Click ‘Start’ button and choose ‘Turn off Computer’.
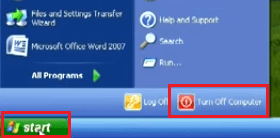
- Click ‘Restart’.
- Plugin your Windows 10 USB boot drive to your computer and during the reboot press ‘F12’ key on your keyboard multiple times. In most computers F12 key brings the boot menu, but if this doesn’t work for your computer, then find that key for your computer and reboot again.
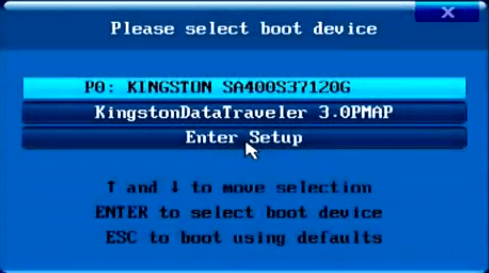
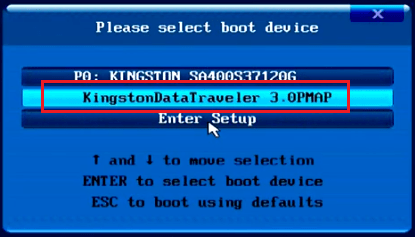
- In the boot menu, choose your bootable USB drive and press ‘Enter’.
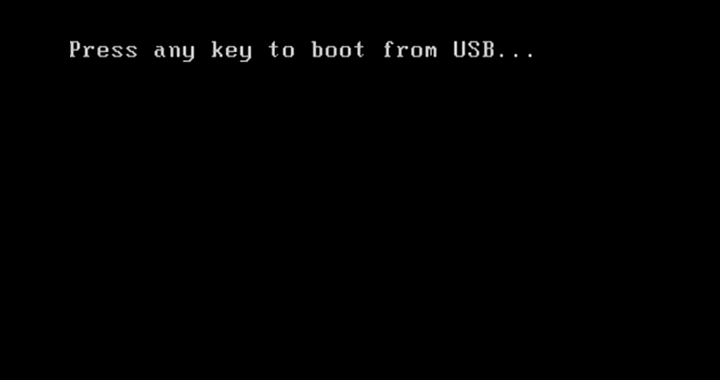
- Press any keyboard key to boot from USB.
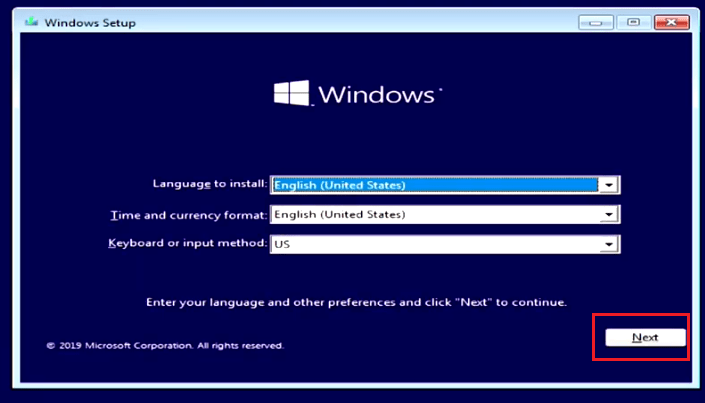
- The download of Windows 10 installation files have begun. When the Welcome Setup screen appears, choose your preferred language, time and currency format and keyboard style. Then, click on ‘Next’.
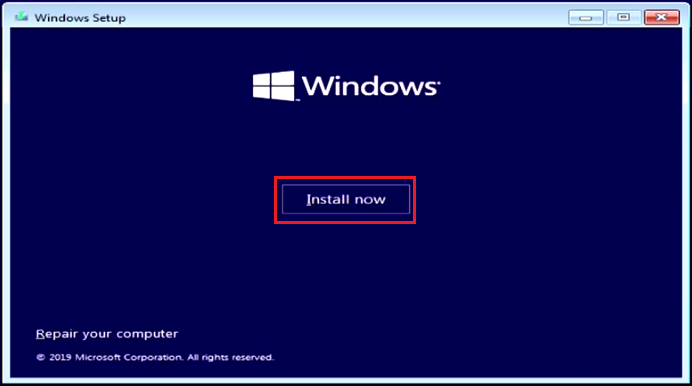
- Click ‘Install now’ to start the installation.
- Wait as setup starts.

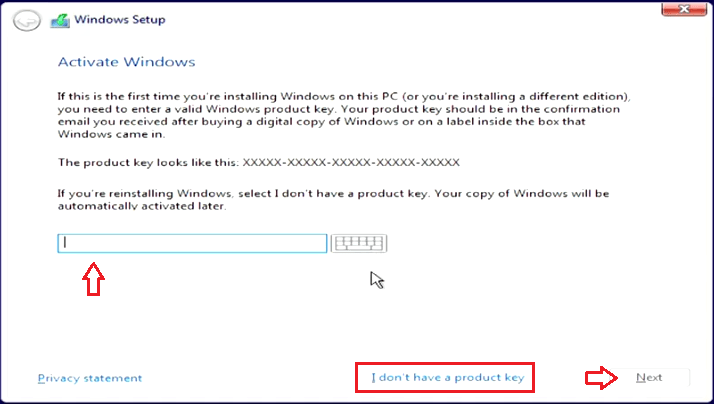
- Enter the product key if you have it and click ‘Next’, or else choose ‘I don’t have a product key’.
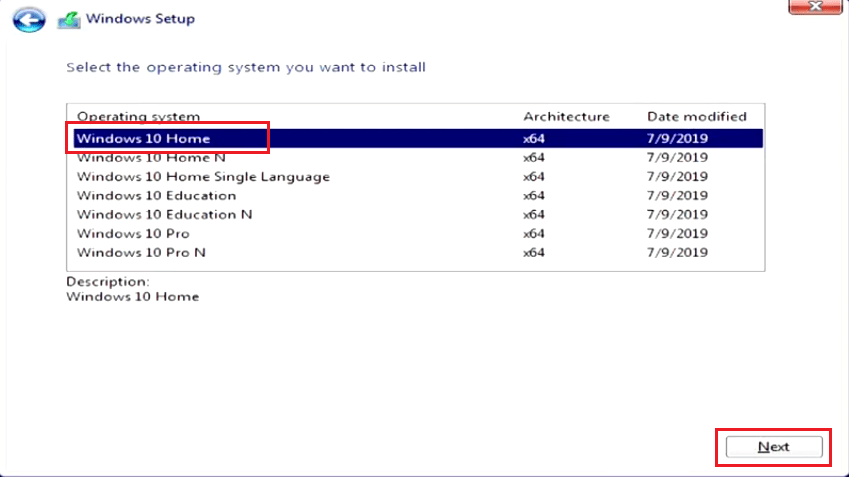
- Choose the Windows 10 version you want to install. We have chosen ‘Windows 10 Home’. Then, click ‘Next’.
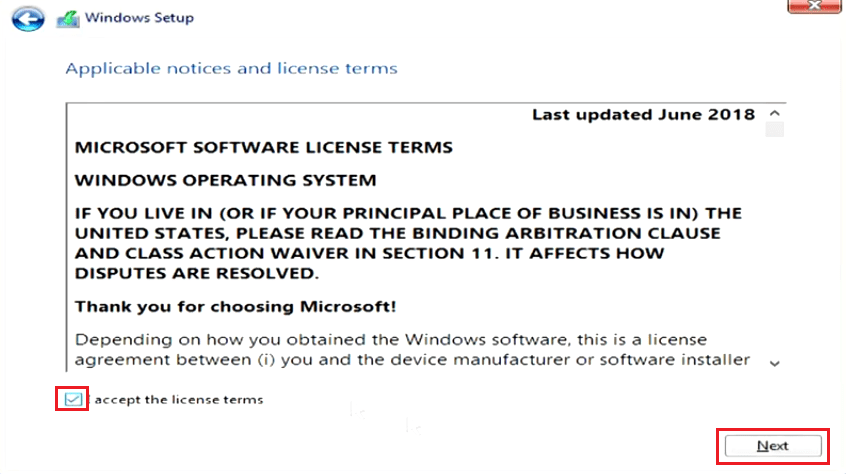
- Accept the license agreement and click ‘Next’.
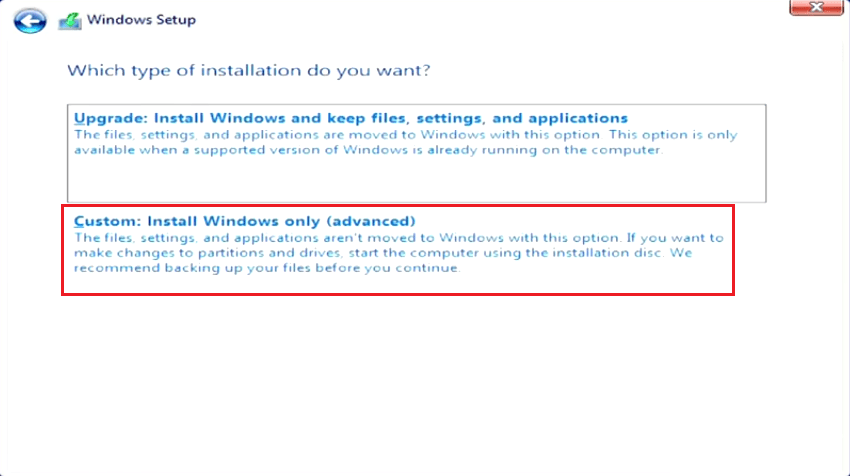
- Choose ‘Custom: Install Windows only (advanced)’ option.
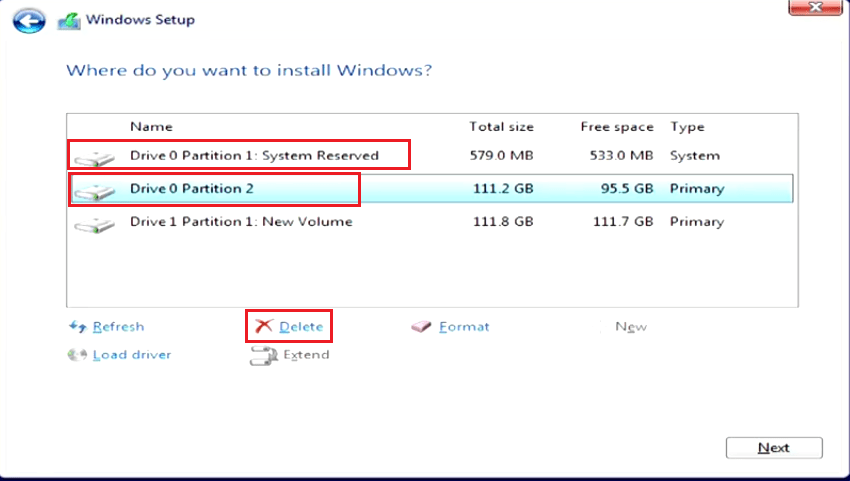
- Now you will see the drives connected to your computer and their partitions. Delete the partition on which Windows XP is installed and also the partition reserved for the system. Select these partitions one-by-one and click ‘Delete‘.
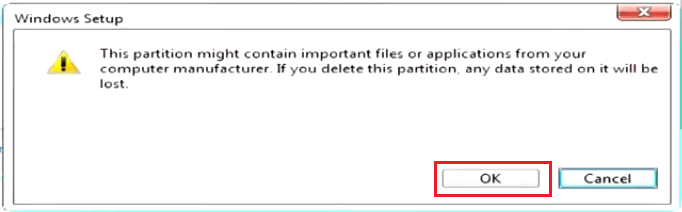
- Click ‘OK’ to complete the partition delete process.
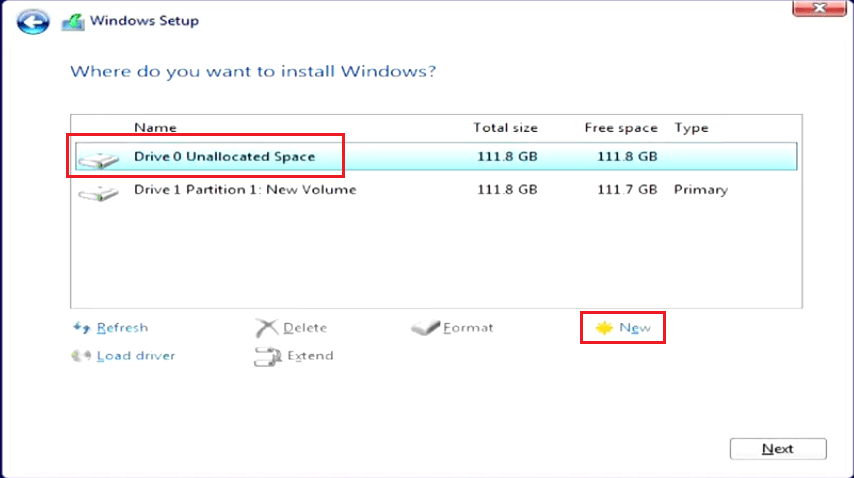
- After performing the partition delete process for relevant partitions, choose the ‘Unallocated Space’ and click ‘New’.
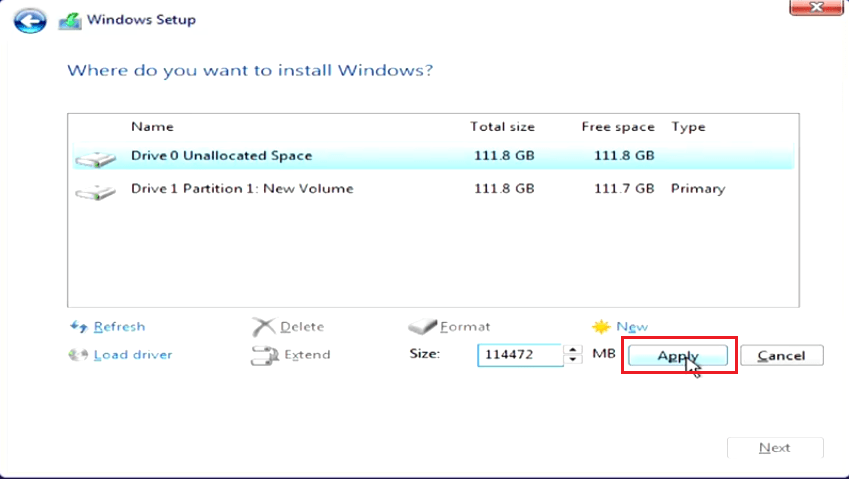
- Leave the partition size unchanged and click ‘Apply’ to continue with creating a new partition.
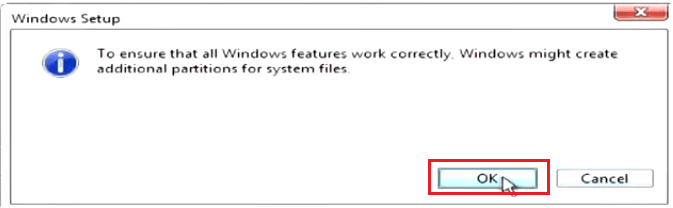
- Click ‘OK’ to give permission for the creation of additional partition for system files.
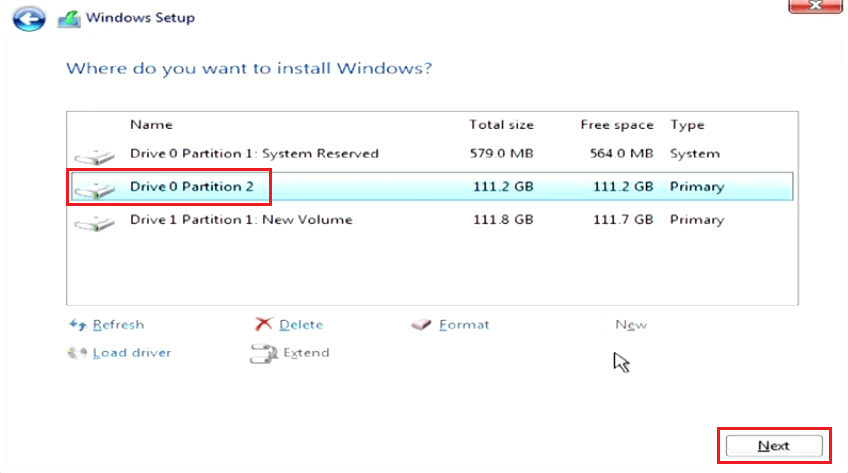
- That’s it, new partitions have been created. Choose the new partition and click ‘Next’ to proceed.
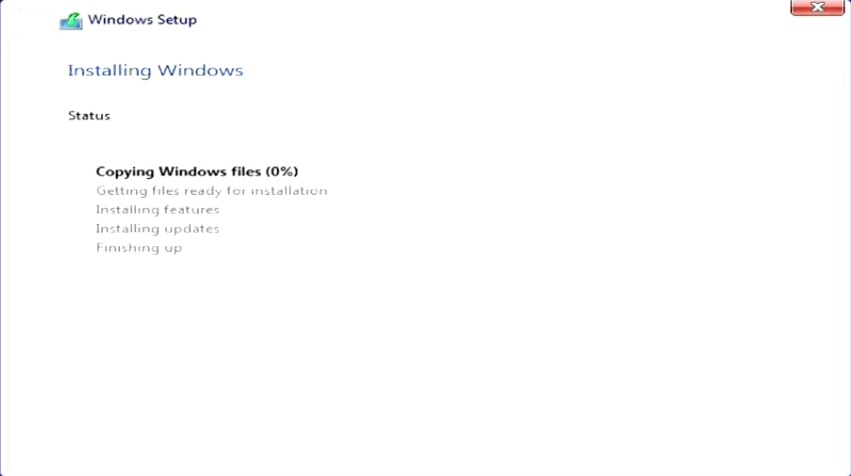
- Wait for the installation process to complete.
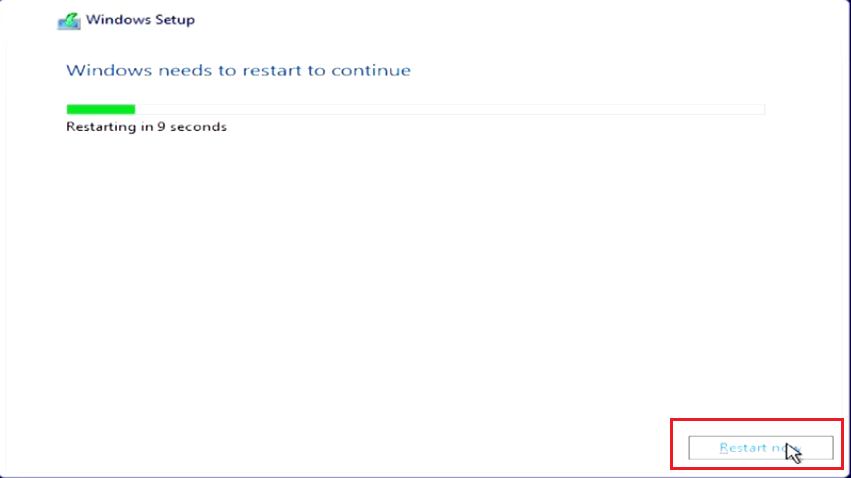
- When the option for restart appears, click ‘Restart’ button.
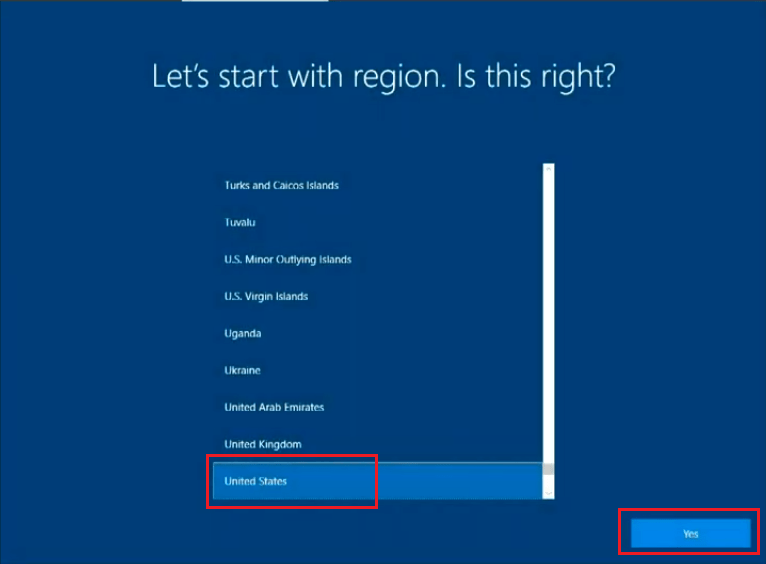
- Wait for the system to restart. Then, choose your region and click ‘Yes’.
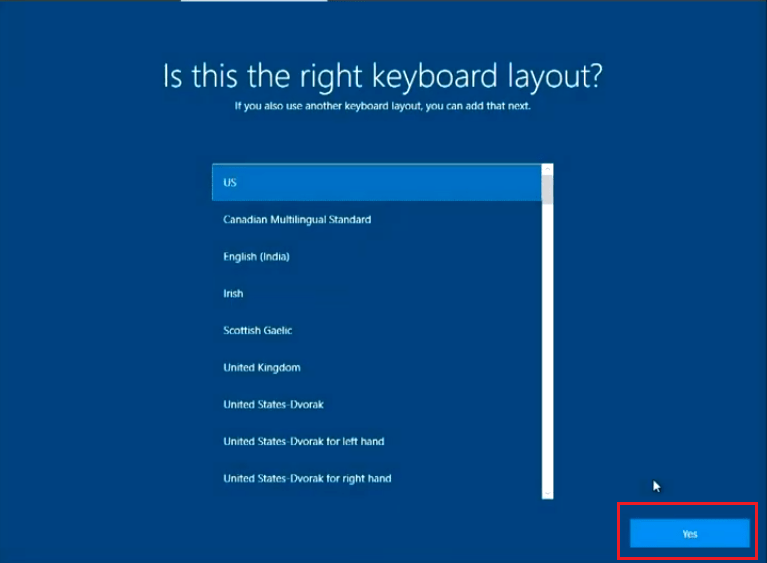
- Choose your preferred keyboard layout and click ‘Yes’ to continue.
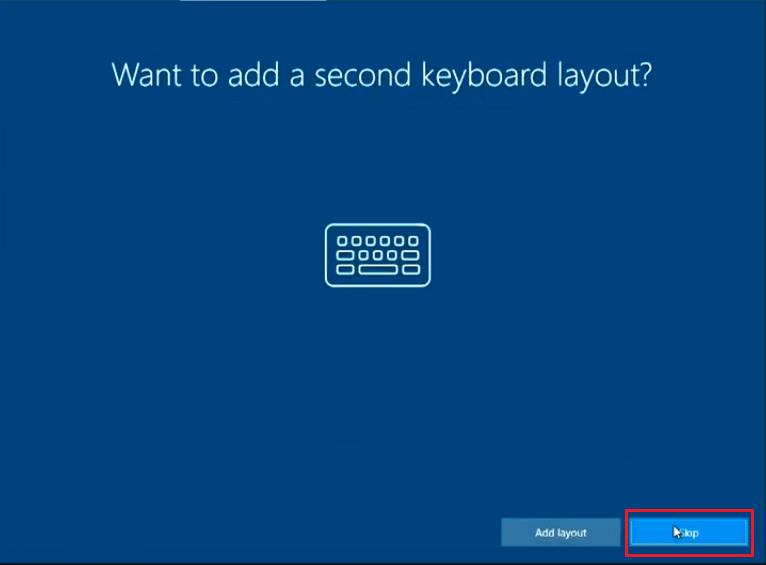
- If you want to add another keyboard layout, then you can do it now. Otherwise, click ‘Skip’ to proceed.
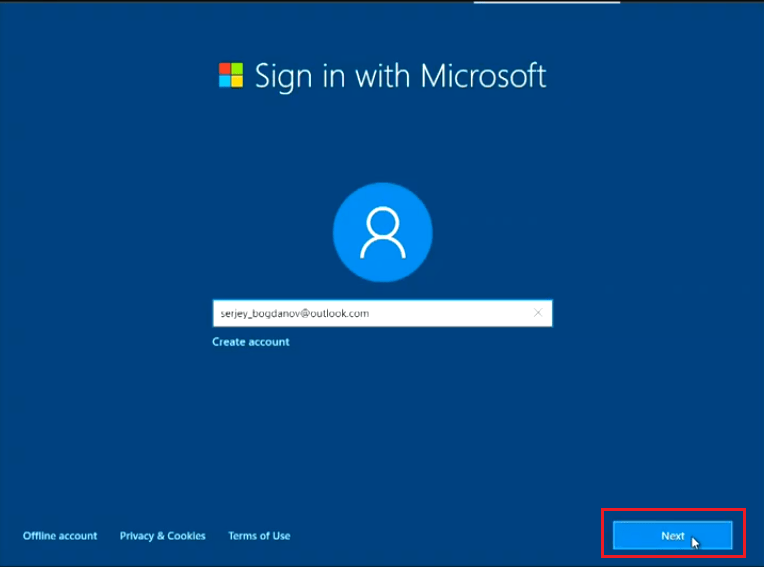
- Sign in to your Microsoft account. If you don’t have one, then create it. We have entered our account name and clicked ‘Next’.
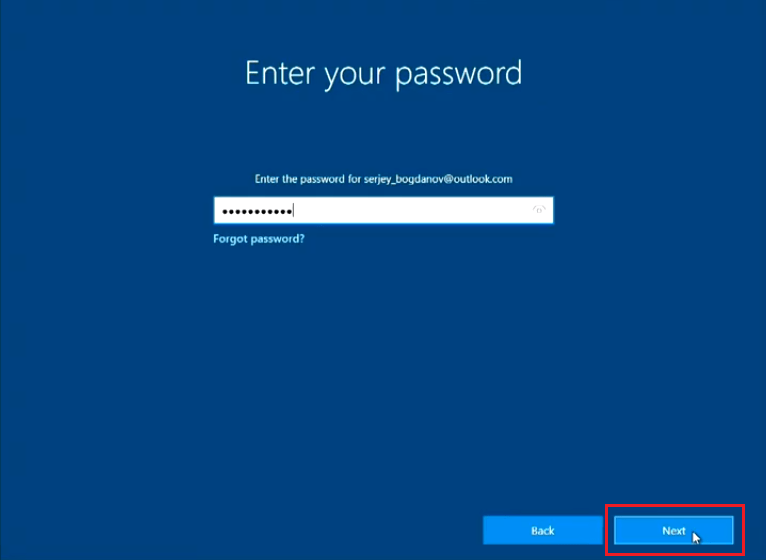
- Enter the account password and click ‘Next’.
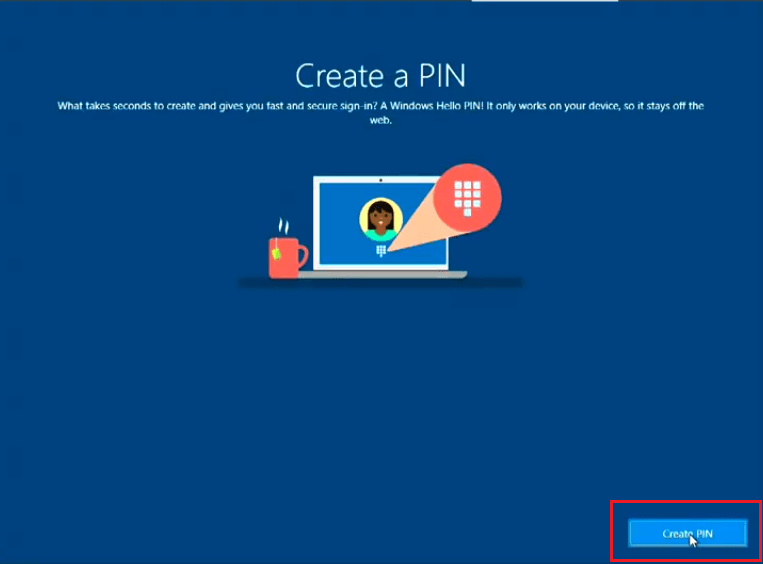
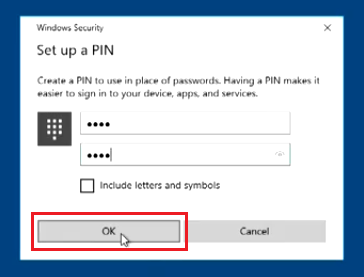
- Click ‘Create PIN’.
- Enter your PIN you want to create, then click ‘OK’.
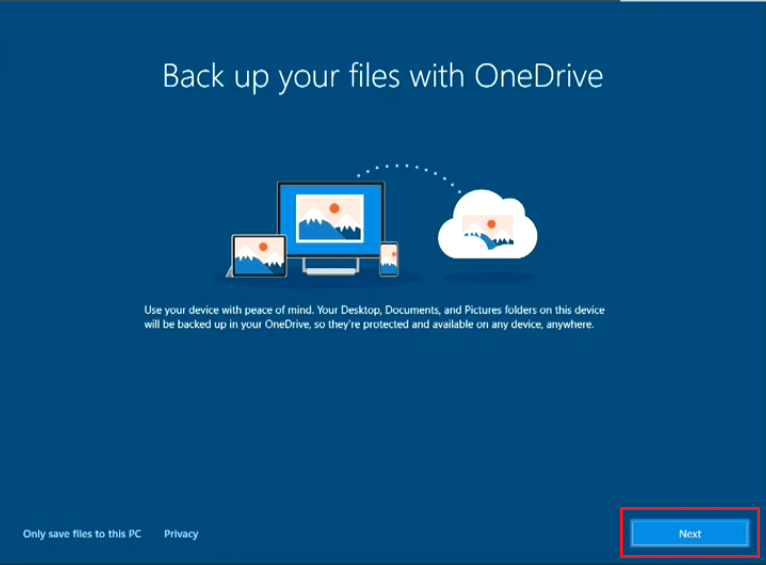
- You have the option to back up your computer data with OneDrive. Click ‘Next’ to choose this option. If you don’t want this option, then select ‘Only save files to this PC’.
- Choose the privacy settings according to your preference, then click ‘Accept’.

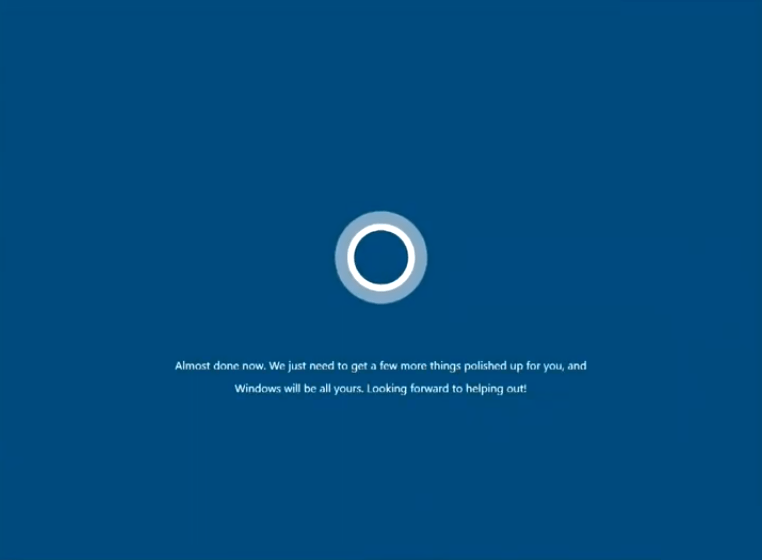
- Wait for the Windows to complete the installation.
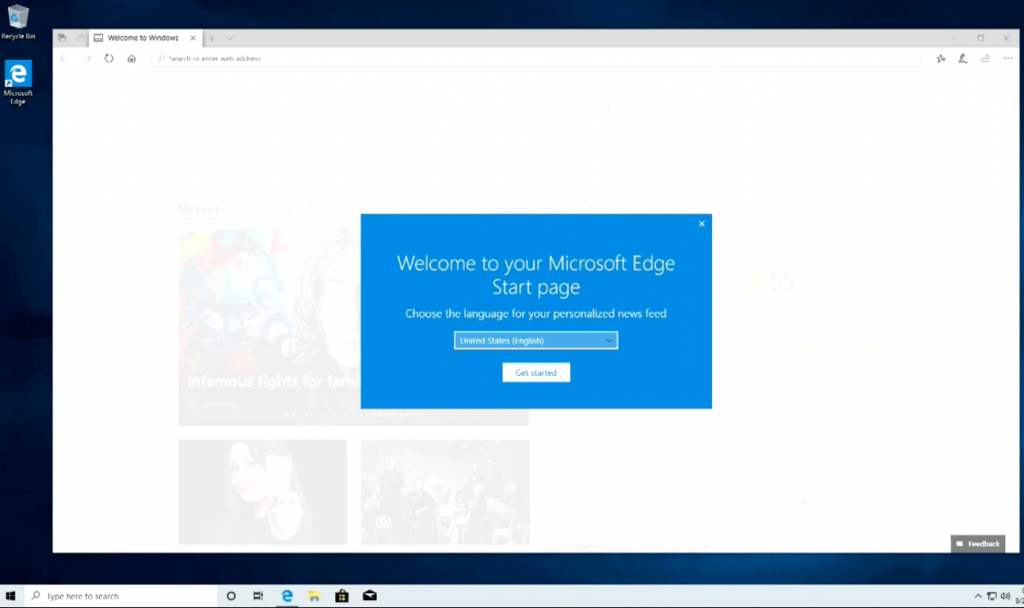
- That’s it, you have successfully upgraded to Windows 10 from Windows XP.
That’s it.
Now you know how to upgrade to Windows 10 from Windows XP, Vista. Since many years Microsoft has stopped providing support for Windows XP and Vista, which means these operating systems are no longer safe to run on the internet. Also, many latest software are not even compatible with these outdated operating systems. Therefore, if you have either of these operating systems installed on your computer or laptop, then you must upgrade them to Windows 10. All you have to do is follow the steps given above and you will be able to upgrade to Windows 10 quickly and easily.
This is not upgrading to windows 10… This is removing XP and then installing a clean install of windows 10. Upgrading is to keep all your files.
Sorry to say but there is no option to upgrade from Windows XP to Windows 10 / 11 directly. You’ll have to back up your data before proceeding. Here’s a guide on what to backup before re-formatting Windows: https://www.techsupportall.com/what-to-backup-before-reinstalling-windows/
The article is just to upgrade your Windows XP OS to Windows 11. So make sure that your data will be loose if you choose that option. The best option is take a backup of your data.
I am following your instructions to install Windows 10 featured after running Windows XP
Keeping my fingers crossed!
Regards and thanks,