MP3 files have been the most popular audio format for quite a few years. They have convincingly replaced the WAV files as the most preferred audio file format. However, you will still find a plethora of music compositions which are only available in WAV format. This is a problem for many users when they are creating or managing their music library. The only way out of this problem is to convert WAV to MP3 so that they are easy to save and simpler to manage. In this guide, we will explain how to convert WAV to MP3 in the simplest and fastest ways possible.
There is no doubt that WAV files are of superior quality when compared to MP3 files. Therefore, when a user decides to convert their audio file to MP3 from WAV format they agree to compromise on the audio quality. However, this loss of quality is barely noticeable unless the listener is using high-end audio equipment. Also, there are multiple settings which can be altered to improve the quality of the output MP3 file before you start the conversion process.
If loss of quality is a drawback of converting a WAV to MP3, then its benefits are also many which outweighs this drawback.
- MP3 files are many times smaller in size which makes them easier to store.
- Due to their small size MP3 files can be easily managed and shared over multiple devices.
- MP3 files have very little difference in overall sound quality.
How to Convert WAV to MP3
Find several ways to convert a wav to mp3 format below for different-different operating systems.
Jump to the section:
- Convert wav to MP3 on Windows
- Convert wav to MP3 on Mac
- Convert wav to MP3 on iPhone
- Convert wav to MP3 on Android
Steps for Windows
There are plenty of third-party applications available for Windows which can help you convert a WAV to MP3. However, you don’t have to install any such app if you want to convert the WAV files from an audio CD to MP3 format. This can be easily done by using the Windows Media Player which is freely available with Windows 10.
1) Convert using Windows Media Player (Free)
For converting WAV files to MP3 by using the Windows Media Player you should follow the steps given below.
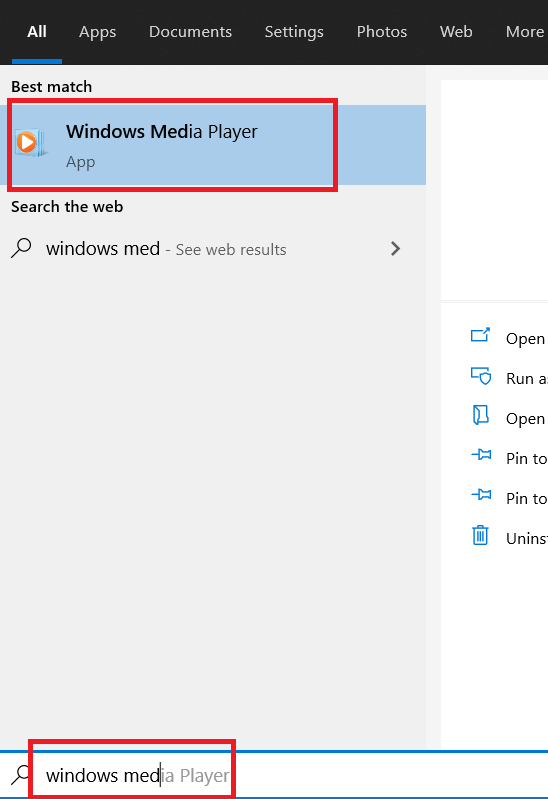
- Search ‘windows media player’ in the search box and select ‘Windows Media Player’ from the search results.
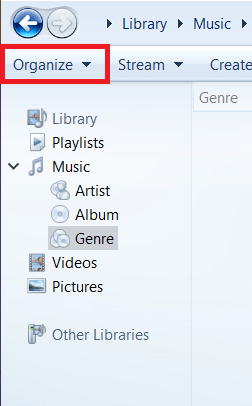
- Click ‘Organize’ button in the Windows Media Player.
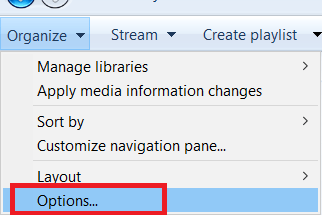
- From the drop-down menu, select ‘Options’.
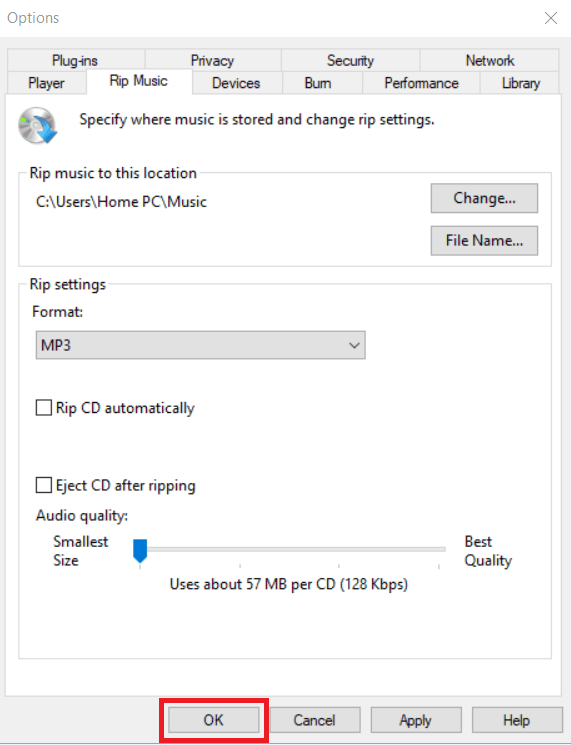
- In the Options window, click on the ‘Rip Music’ tab to manage the settings for ripping music files.

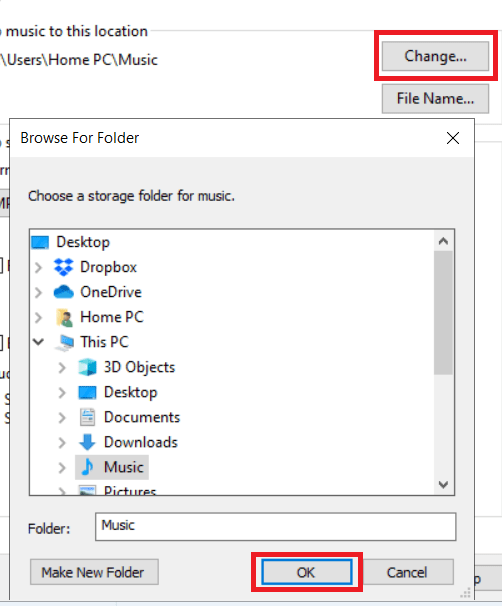
- Click on the ‘Change’ button and in the pop-up window browse to the folder where you want to save your converted MP3 file, then click the ‘OK’ button.
- Under Rip settings, click the ‘down’ arrow below Format field and select ‘MP3’.

- Click ‘OK’ button to finalize the settings.
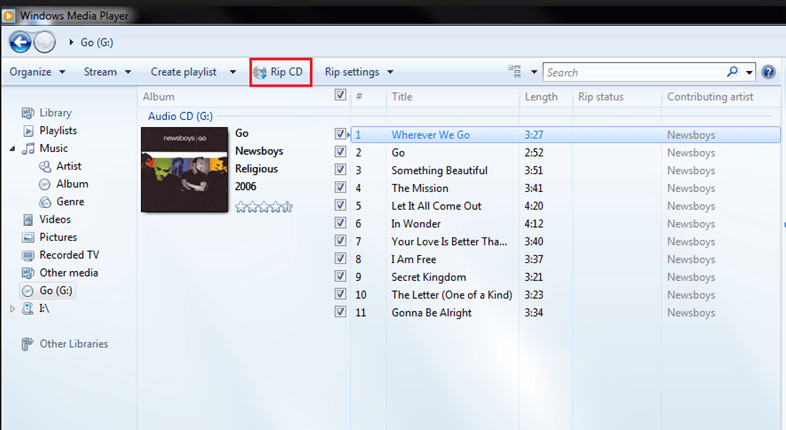
- Now, insert the audio CD in your computer CD/DVD drive. Wait for some time so that Windows Media Player can detect the contents of the audio CD. Finally, select the ‘RIP CD’ button to start converting the audio CD WAV into MP3 files. Later you can find the MP3 in the destination folder.
- Like said before, you can use Windows Media Player only to convert the WAV files from an audio CD. This can be helpful for many users, but if you want to convert a standalone WAV file, then you will have to install a third-party application on your computer.
2) Convert to MP3 using VLC Media Player (Free)
VLC Media Player is a free app available for Windows which you can use to convert WAV into MP3 files. This app is easily available for download on various free download websites and is simple to install. After downloading and installing VLC media player on your Windows computer follow the steps given below to start converting your audio WAV to MP3 format.
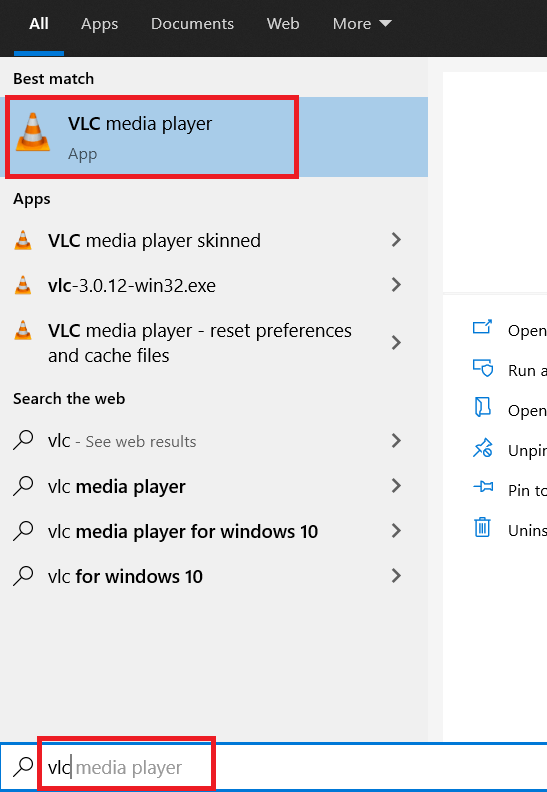
- Search ‘vlc media player’ in the search box and select ‘VLC media player’ from the search results.
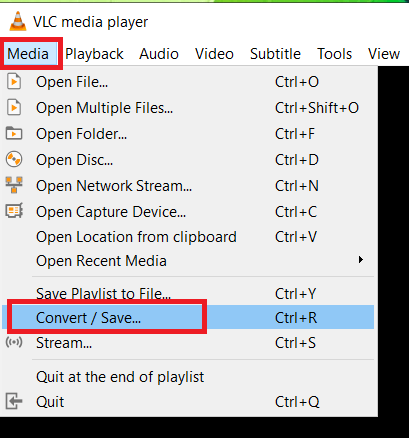
- Click on ‘Media’ and select ‘Convert/Save’ from the drop-down menu.
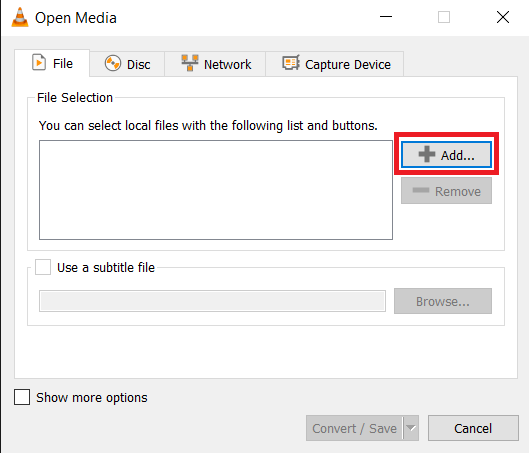
- In the Open Media window, click ‘Add’ button under the File tab to select the WAV file you want to convert to MP3.
- In the pop-up window, browse to the WAV you want to convert, select the file and click on the ‘Open’ button.

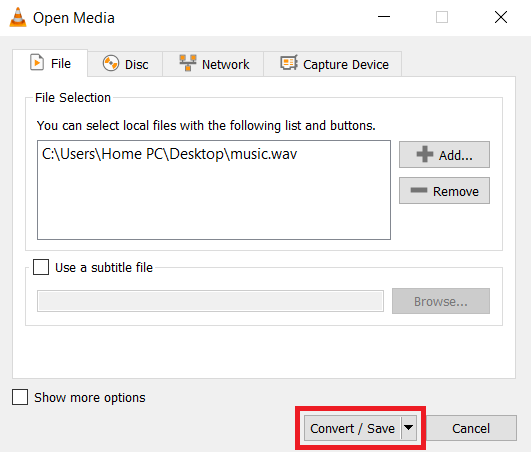
- Click on the ‘Convert/Save’ button to continue.
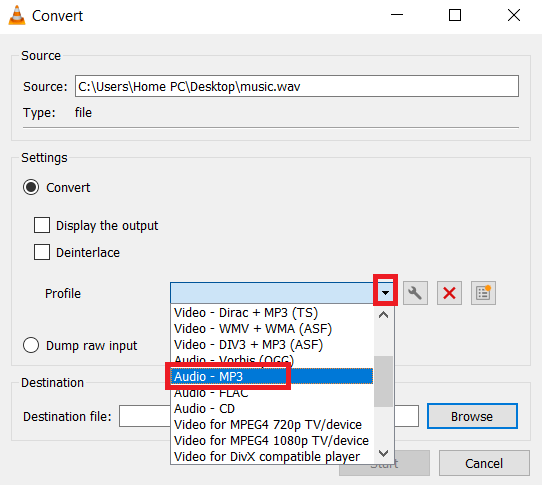
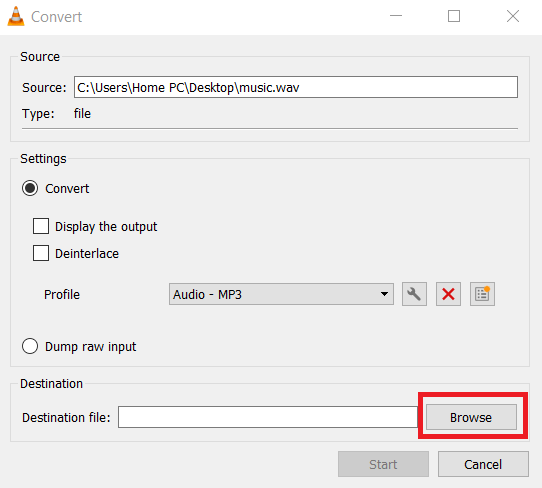
- In the Convert window, click on the ‘Down’ arrow in front of the Profile field and select ‘Audio – MP3’.
- Click on the ‘Browse’ button to select the destination where you want to save the converted MP3.
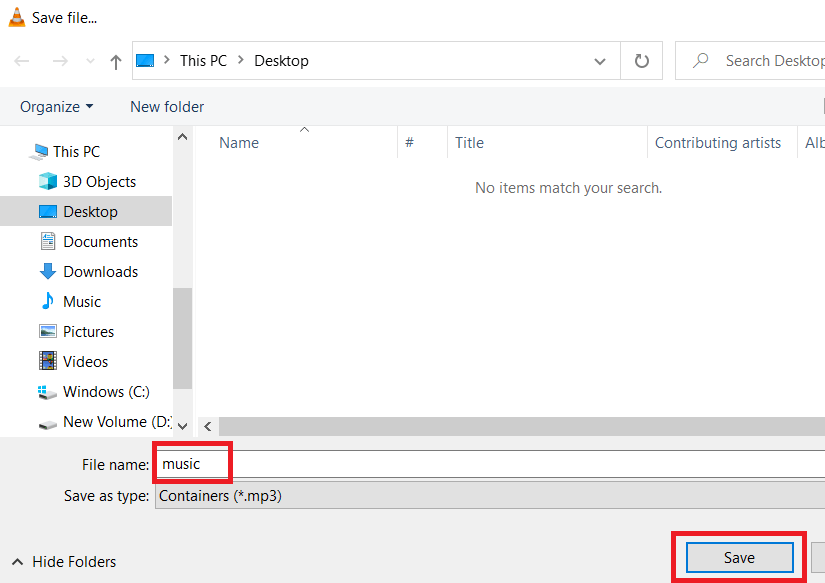
- Enter the name for the MP3 file and click on the ‘Save’ button.
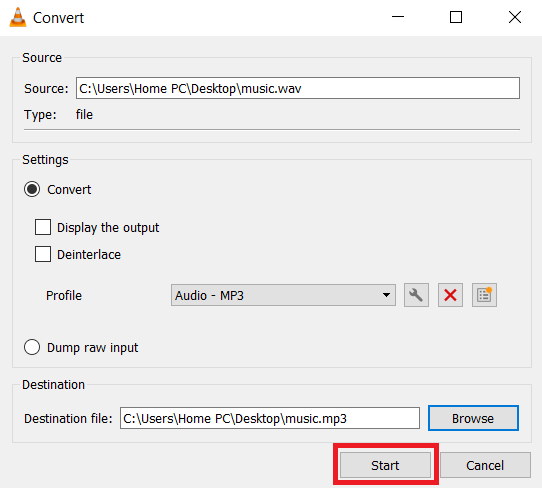
- Click on ‘Start’ button to start the conversion process.
- Wait for the file conversion to complete.
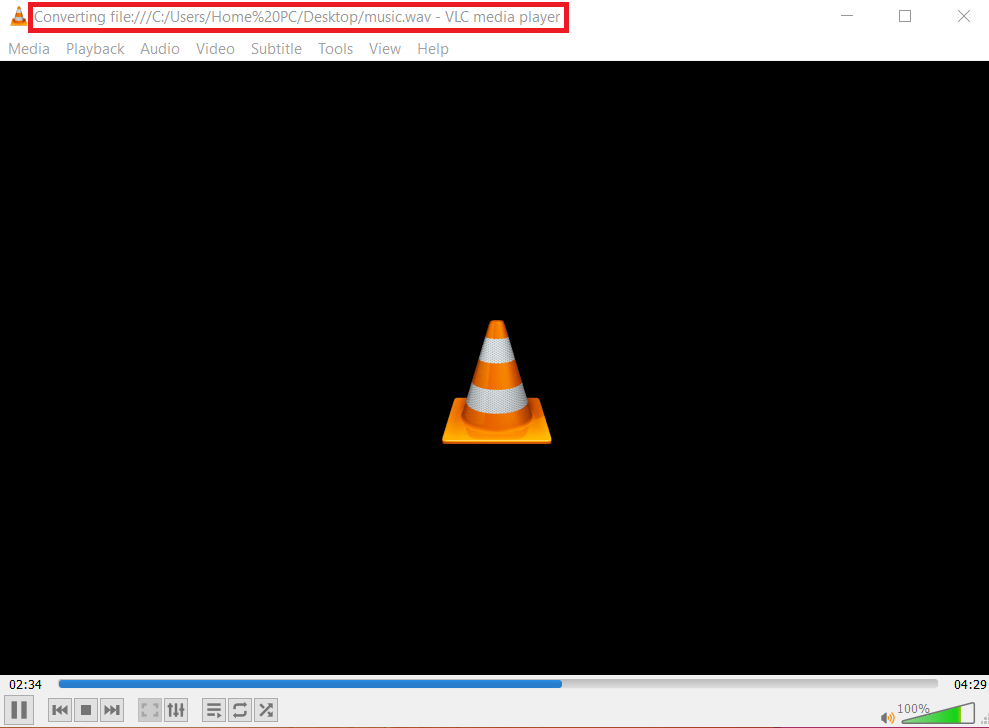
- Once the file is converted you can find the MP3 file in the destination folder you specified in Step 8.
3) Convert wav to mp3 using online websites (Free)
If you don’t want to install any additional software on your computer for converting a WAV to MP3, then the easiest and fastest option available is to use the services of an online website. There are many online websites which provide this service for free, but we are giving example of ZAMZAR which is a highly reliable website and has a reputation of converting files while maintaining the sound quality.
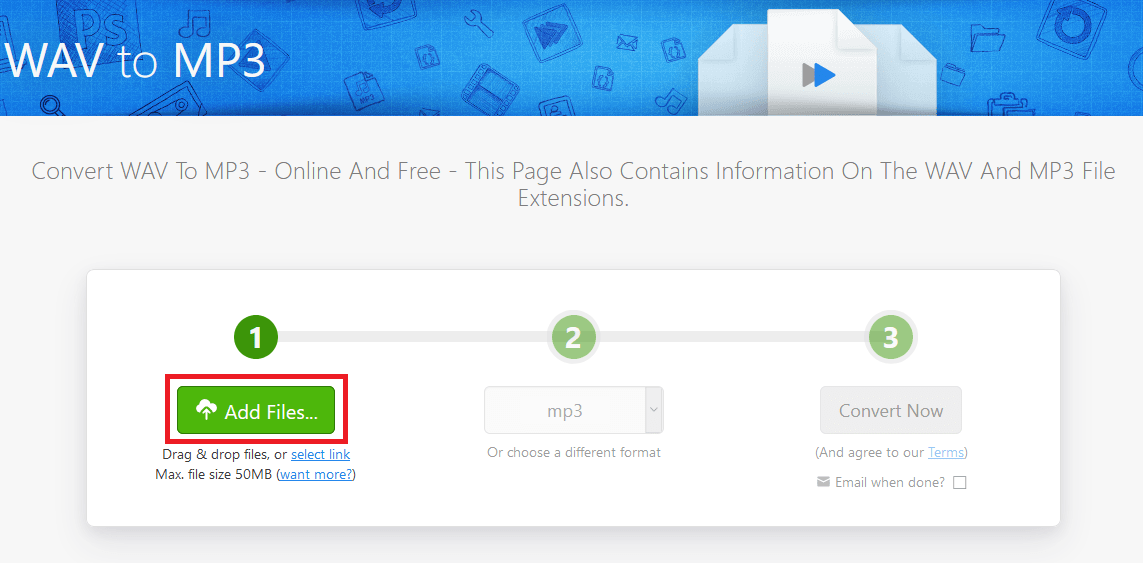
- In your web browser, go to ‘https://www.zamzar.com/convert/wav-to-mp3/’.
- You can drag & drop the WAV file directly on the webpage, or, click on the ‘Add Files’ button.

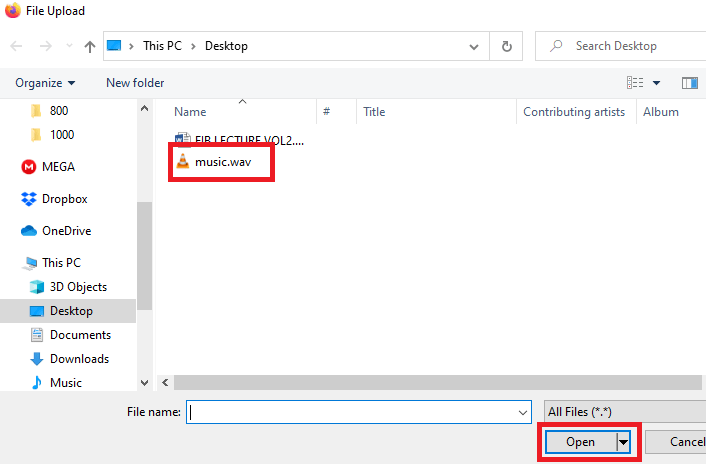
- In the pop-up window, browse to the WAV file you want to convert, select the file and click on the ‘Open’ button.
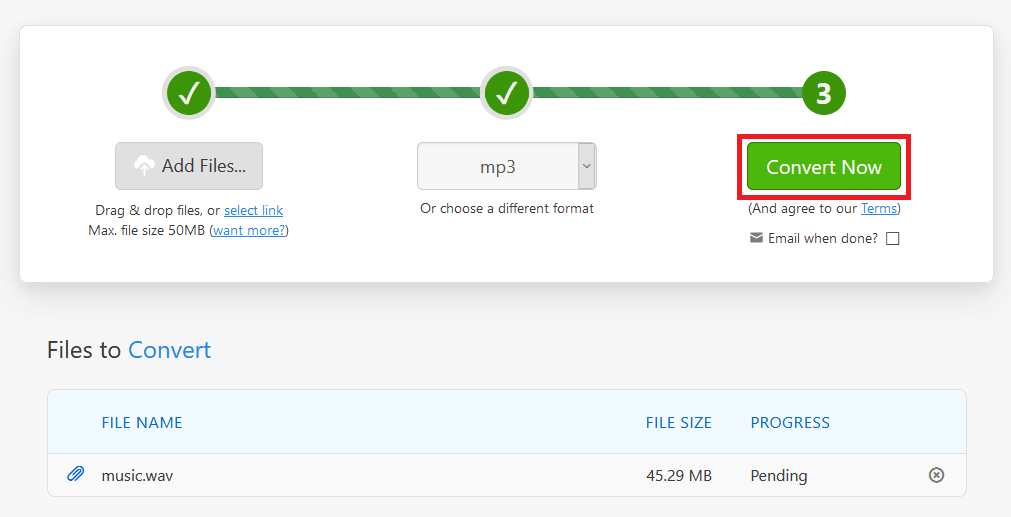
- Click on the ‘Convert Now’ button.
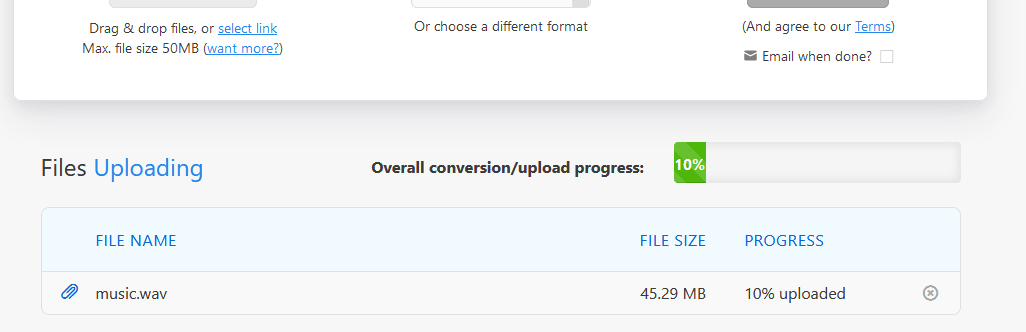
- Wait for the WAV file to upload.

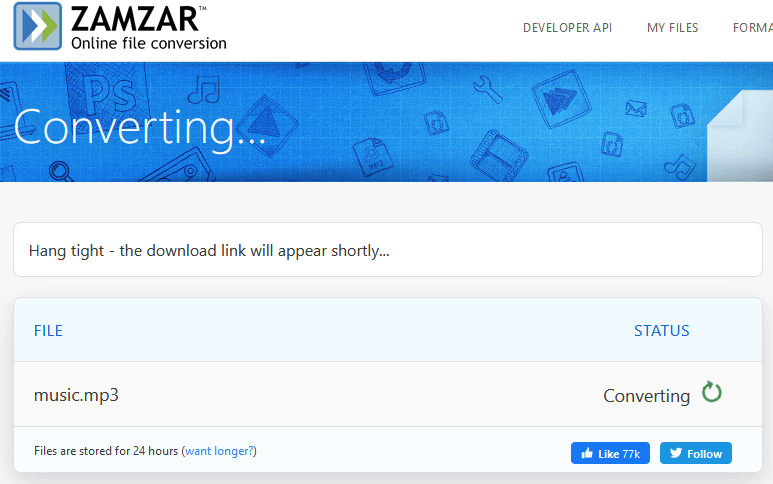
- Wait for the conversion process to complete.
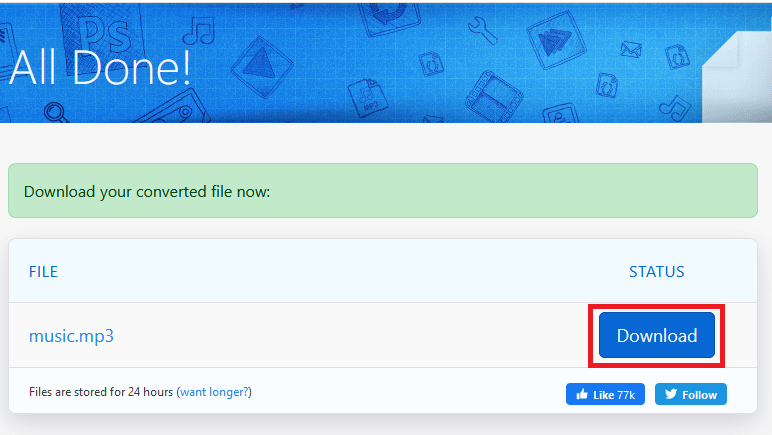
- Click on the ‘Download’ button to start the download.
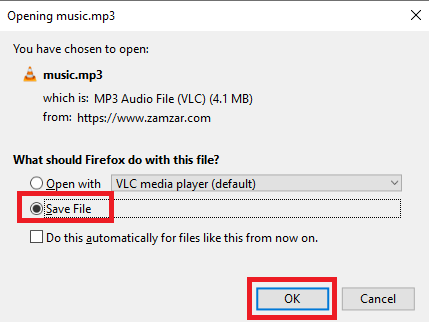
- Choose ‘Save File’ and click on the ‘OK’ button to save the MP3 file on your computer.
- You can follow the above mentioned steps for as many files as you want. Also, both Windows and Mac users can use the online conversion sites, like ZAMZAR to convert their WAV to MP3 format.
Steps for Mac OS
Although Mac users can use the above mentioned online website to convert their WAV to MP3, but they can accomplish the same task by using the Apple iTunes application. Follow the steps given below to convert WAV to MP3 by using iTunes.
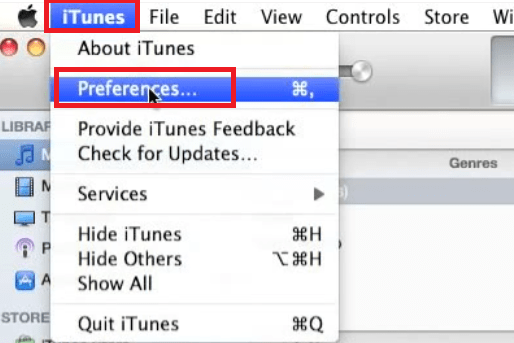
- Open iTunes app on your Mac.
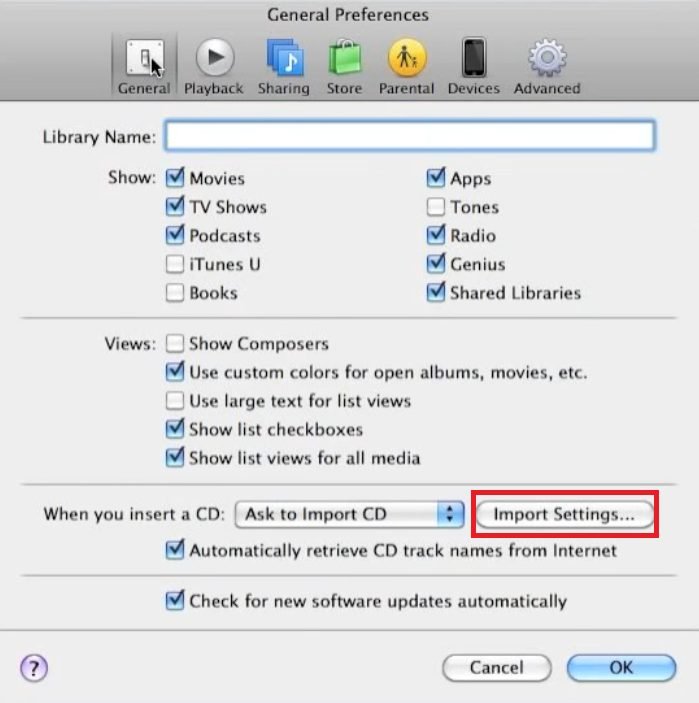
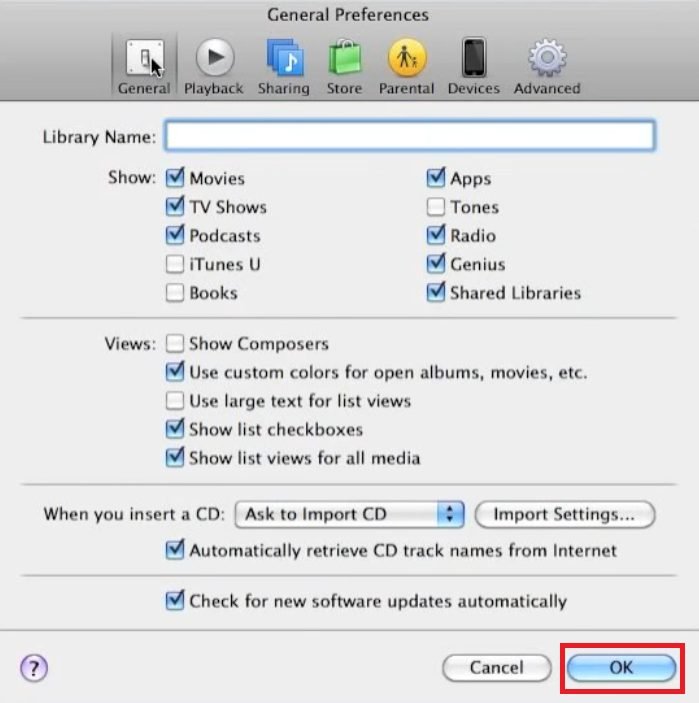
- Click on the ‘iTunes’ and select ‘Preferences’ option from the menu.
- In the Preferences window, select ‘Import Settings’ button.
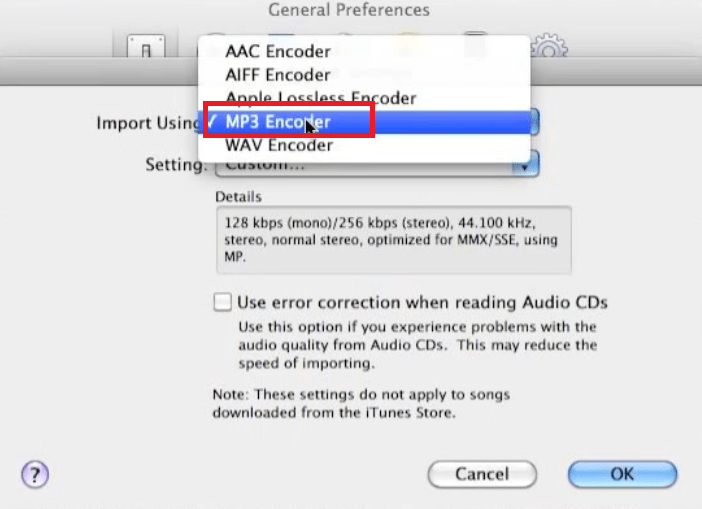
- In the Import Using field, click to select ‘MP3 Encoder’.
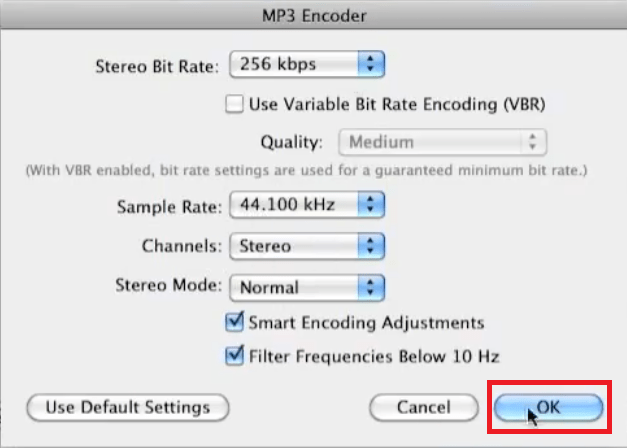
- In the Settings field, click to select ‘Custom’ option.

- After choosing the conversion settings according to your preference, click on the ‘OK’ button.
- Click on the ‘OK’ button to continue.
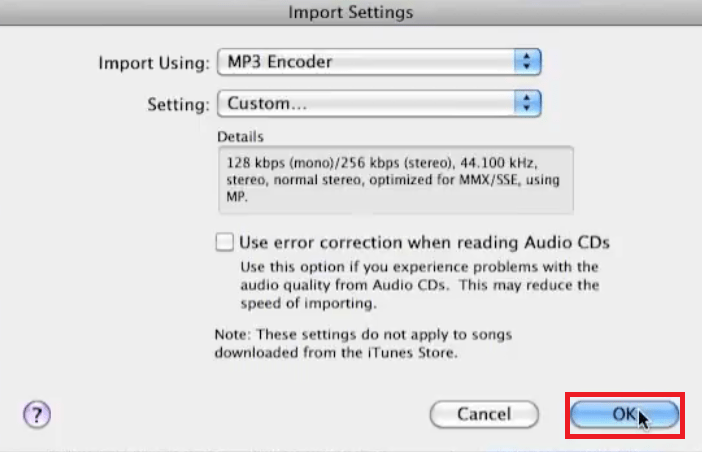
- Click on the ‘OK’ button to finalize the settings.
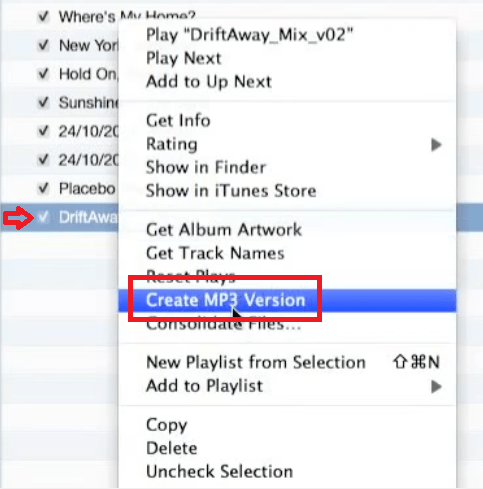
- Add and right-click the WAV file in the audio list and select ‘Create MP3 Version’ from the options. This will start the conversion process. If you don’t see this option, then move to the next step.
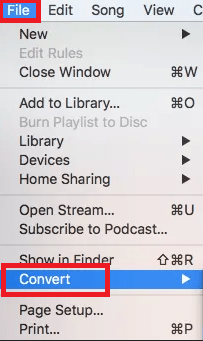
- Select the WAV file from the audio list, then click ‘File’ and choose ‘Convert’ option.
- Choose ‘Create MP3 Version’ from the options to start the conversion.
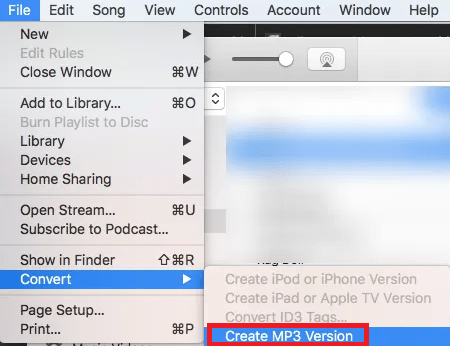
- Wait for the conversion to complete, then you will get the MP3 in your destination folder.
Steps for iPhone
Converting WAV to MP3 on a mobile phone is a completely different matter to deal with. The solutions differ based on your mobile operating system. The steps give below are for iPhone and other devices which run on iOS.
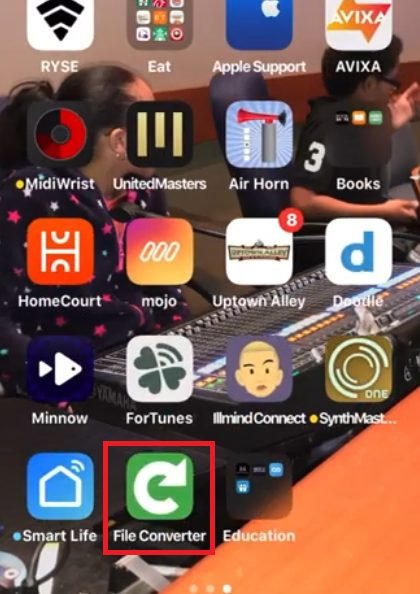
Before starting the conversion process you must visit Apple App Store. Find and install a free app named ‘File Converter’ which will be required to complete the audio file conversion process. After installing the app proceed with the steps given below.
- Tap to open ‘File Converter’ app on your iPhone.
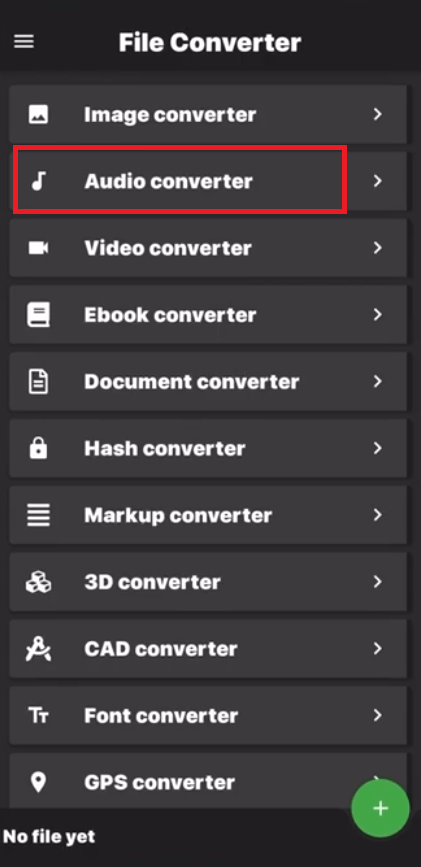
- Among the variety of operations this app can perform choose ‘Audio converter’ as you want to convert an audio file.
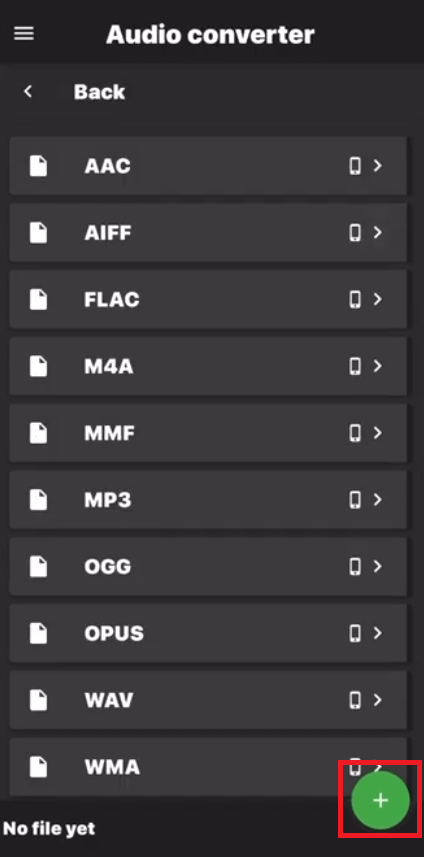
- Tap on the ‘Plus’ sign to select and add the WAV file you want to convert.
- In the Input options select ‘File’.

- Locate the WAV file on your iPhone storage and select it.
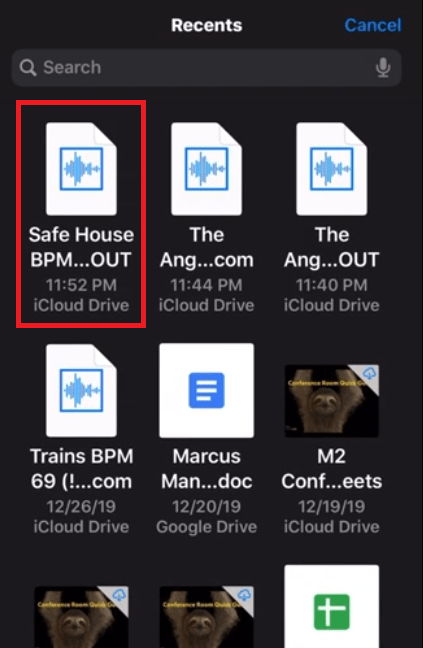
- Once the file is added to the Converter app you can see it listed near the plus sign.
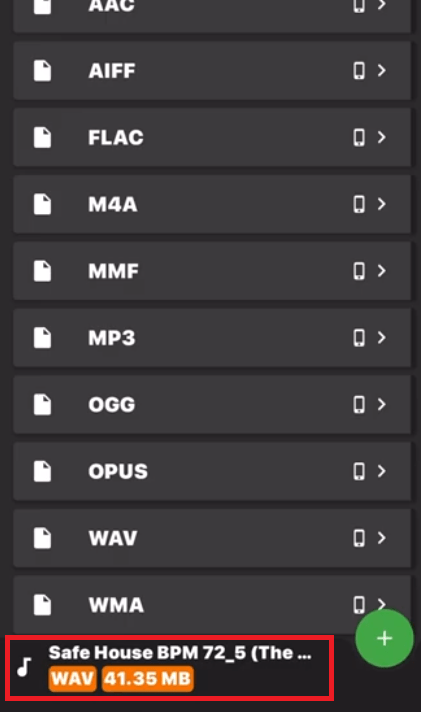
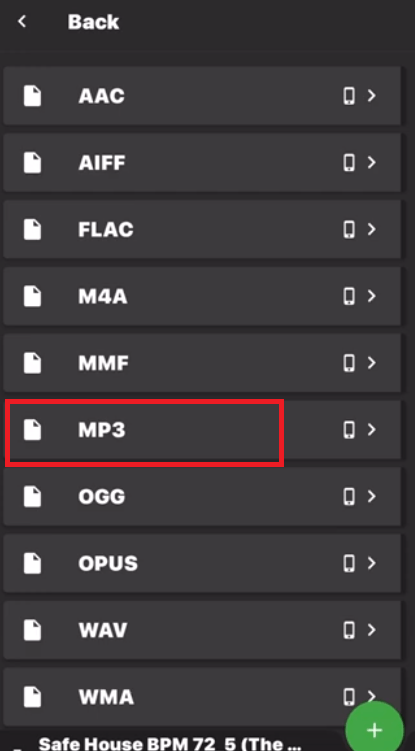
- You will see the list of file formats supported by this App. Since, we want to convert to MP3 format, tap on the ‘MP3’ option.
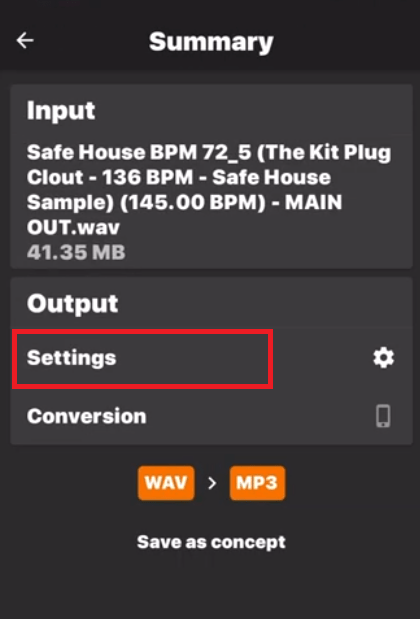
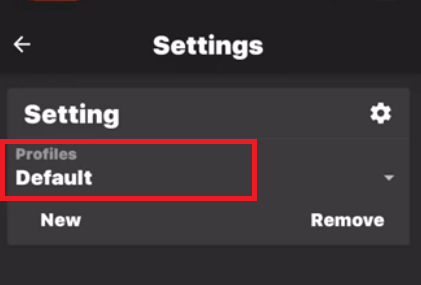
- Tap on the ‘Settings’ to view or alter the output settings for the MP3 file.
- Tap on ‘Profiles’.
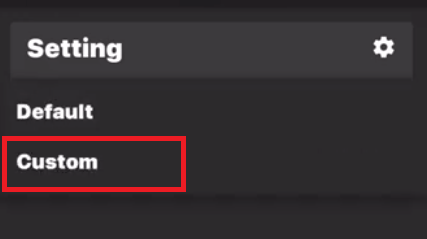
- Choose ‘Custom’ option to customize the settings.
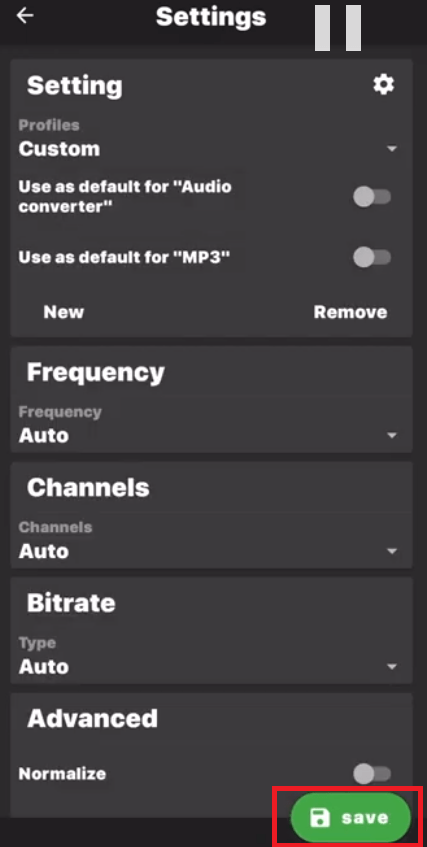
- Now you can see a whole list of settings you can change according to your requirements. After making the changes tap on the ‘save’ option to finalize the settings. If you don’t want to change anything, then you can leave the settings as they are and the WAV file will be converted to MP3 with default settings.
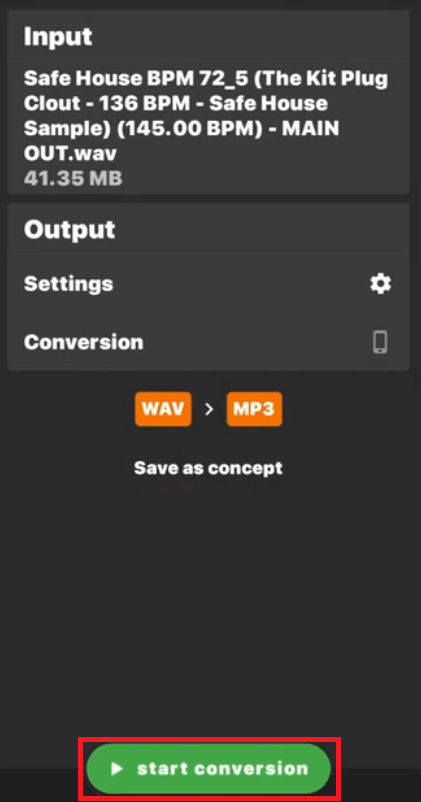
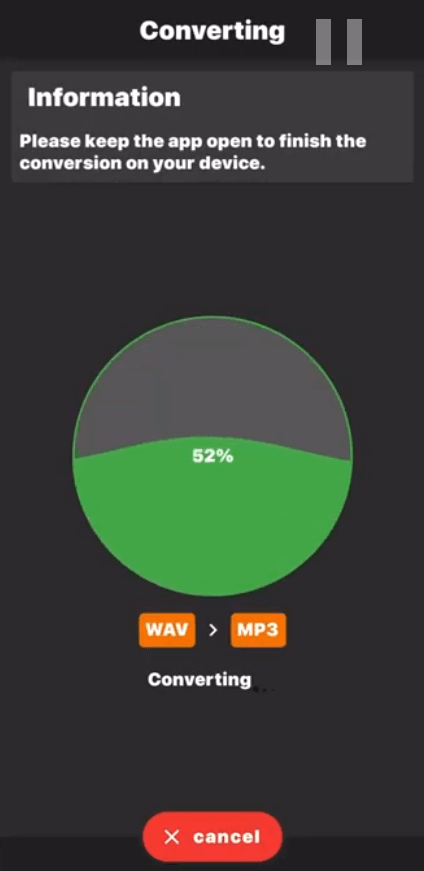
- Tap on the ‘start conversion’ option to start the audio file conversion process.
- Wait for the file conversion process to complete.
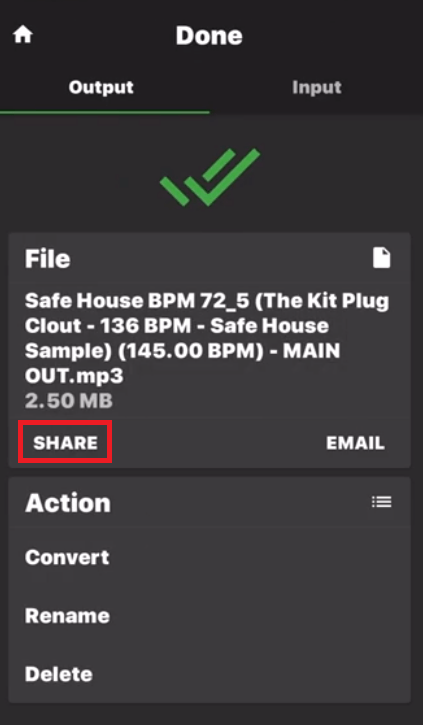
- Once the process is completed you will see the ‘Done’ message. This app doesn’t save the converted file on your mobile. It gives you the option to share the file. If you want to email the converted MP3 you can do that, otherwise, tap on the ‘SHARE’ option to proceed.
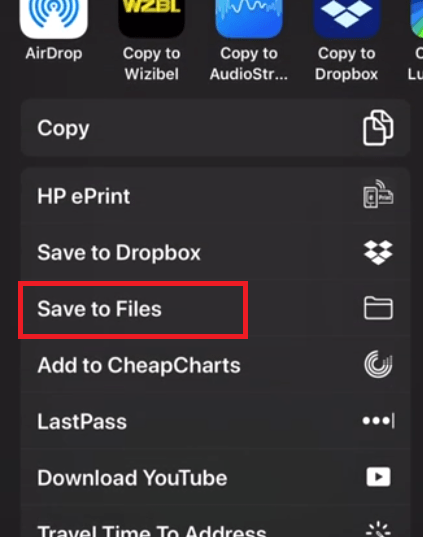
- From the available options, choose ‘Save to Files’ and navigate to the folder where you want to save the MP3 file.
- As you can see it’s easy to convert WAV files to MP3 on iOS devices. If you want to do the same on an Android device, then follow the instructions given in the next section.
Steps for Android Mobile
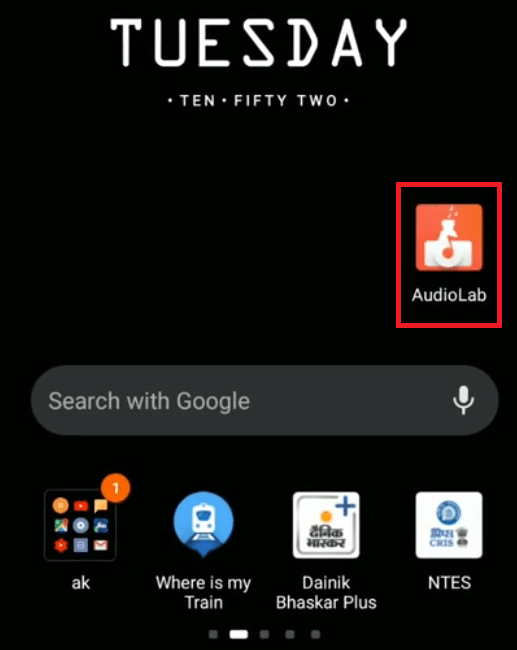
For converting WAV to MP3 on an Android phone you will have to install an app named ‘AudioLab’. It’s a completely free app to use. Visit the Google Play Store, search and install AudioLab app. After installing the app on your Android device follow the steps given below to convert WAV into MP3.
- Tap ‘AudioLab’ icon to open the app on your phone.
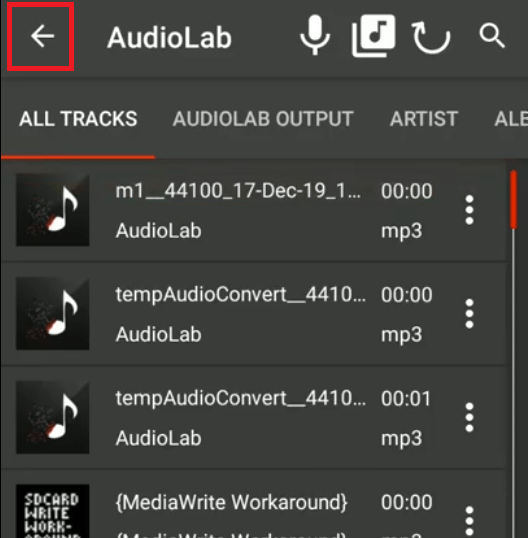
- Tap ‘Back’ arrow to view the list of operations you can perform with this app.
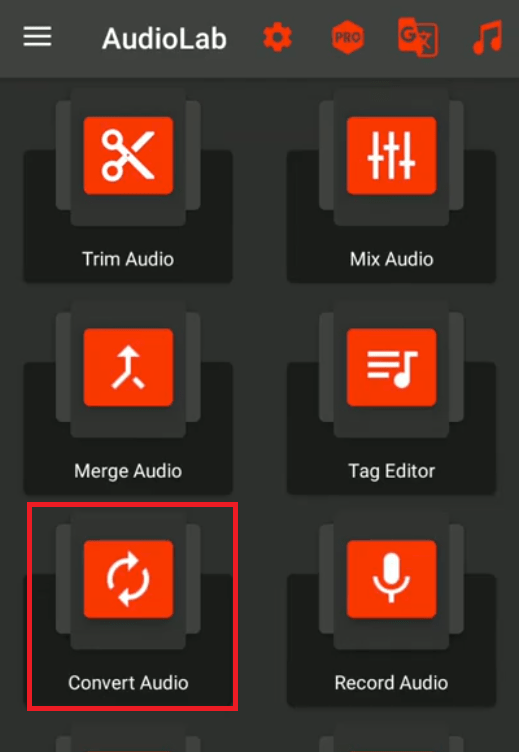
- From the list of options available, choose ‘Convert Audio’ to start the file conversion process.
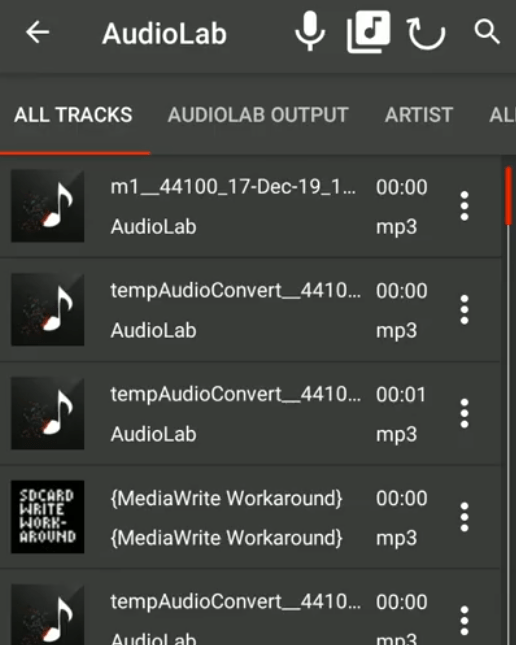
- From the list of tracks on your mobile storage locate the WAV you want to convert.
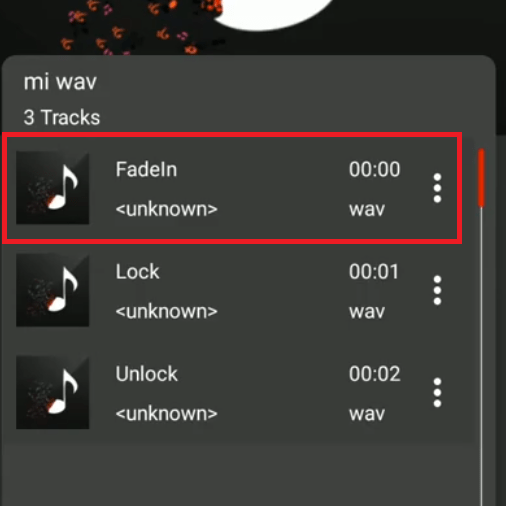
- Tap on the WAV to select it for conversion.
- You will see the details of the WAV you have selected.
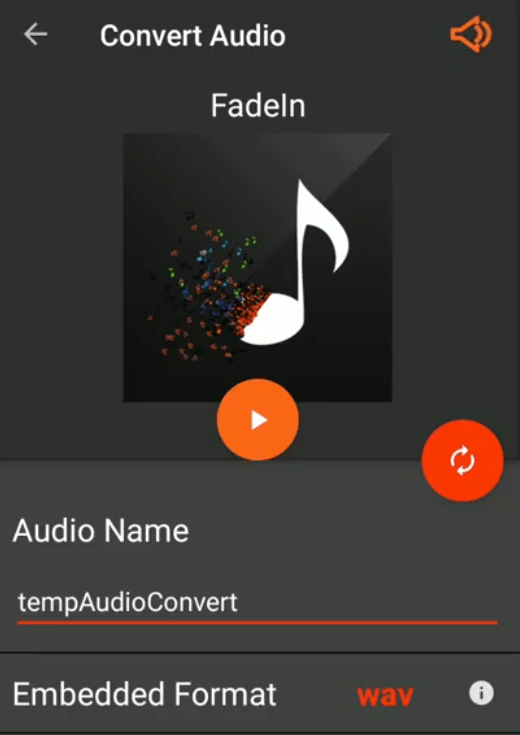
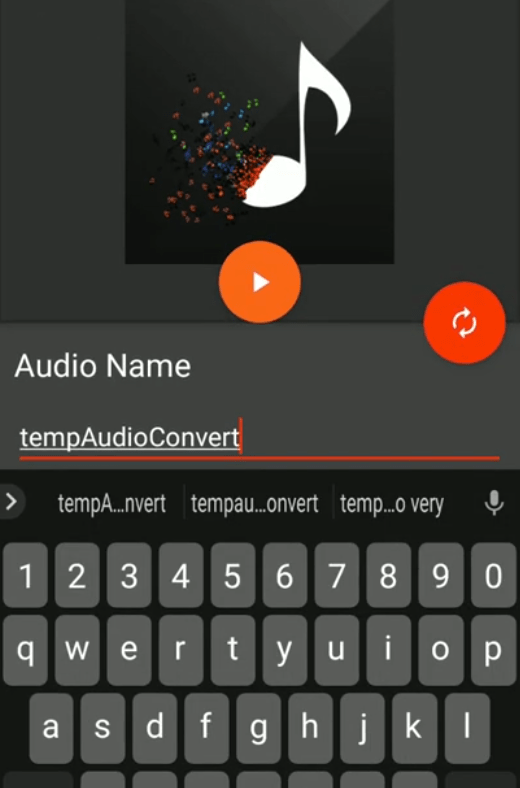
- By tapping on the Name field you can choose the name with which the MP3 file will get saved.
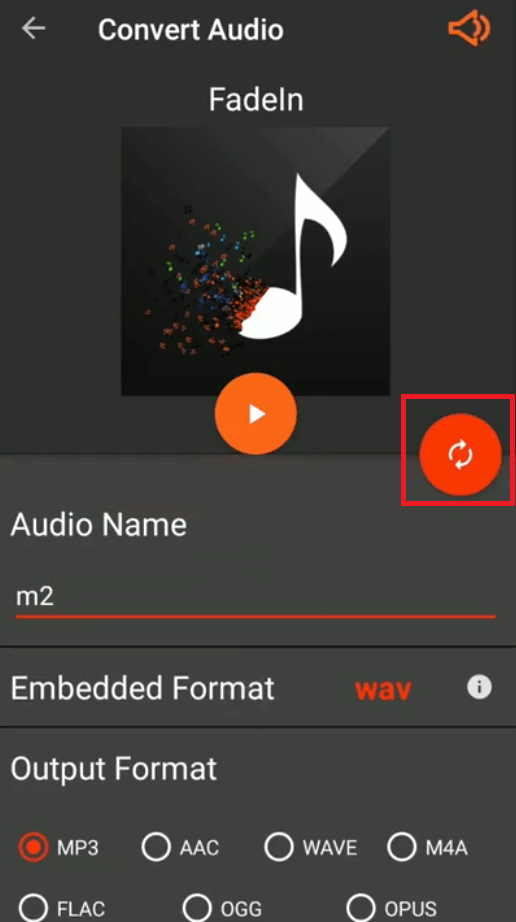
- Since, we want to convert the WAV into MP3 format, in the Output Format section, choose the ‘MP3’ format.

- Tap on the ‘Convert’ icon to start the file conversion.
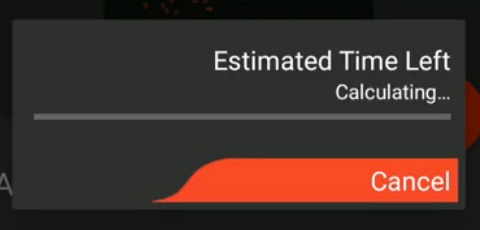
- Wait for the file conversion to complete.
- After the conversion is complete you will see the message with the address where the new MP3 is saved. Visit the specified address and you will find the newly converted MP3.

- You can use this app on any Android device to convert your WAV into MP3 and many other formats.
How to convert WAV to MP3 is a question that bothers a lot of people. Although we have answered this question in this guide, but don’t think that these are the only ways of converting a WAV to MP3. There are many more options, like browser extensions, add-ons, etc. are available. You can try them as well, but the options which we have shared work perfectly and convert the WAV into MP3 with minimum loss of quality. However, there are plenty of third-party apps available, which we encourage you to test if the options shared above doesn’t fulfill your requirements.